
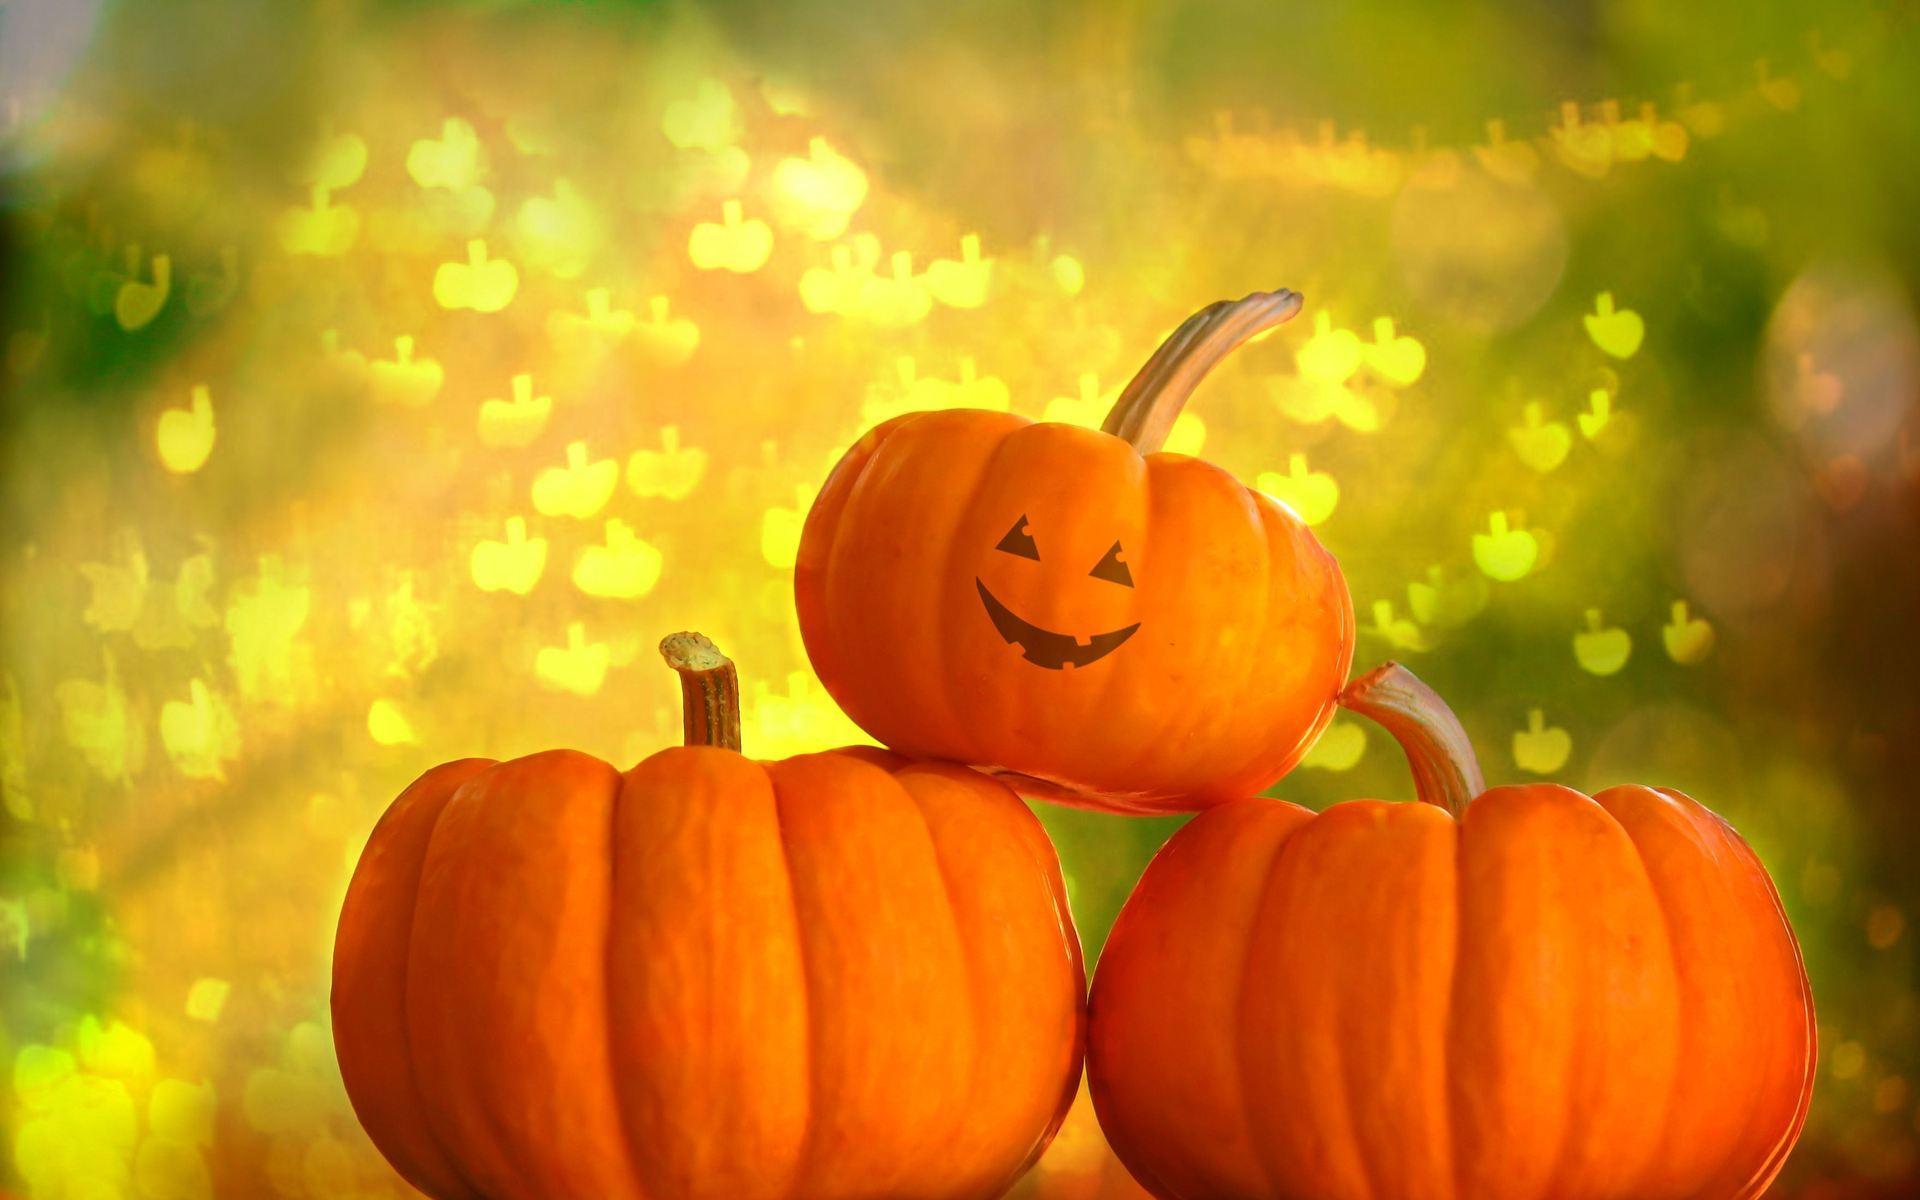
Fall is here, and with it comes that wonderful time of year when pumpkins are everywhere you look. You see them on porches, in coffee shops, and, of course, ready for carving. While many people stick to classic spooky faces, or maybe a friendly ghost, have you ever thought about making something truly different? Something that really stands out? Well, pumpkin carving fish offers a refreshing twist on a cherished autumn tradition. It’s a way to bring a bit of the ocean’s wonder to your front step, and it’s actually pretty fun to do, too.
It just wouldn’t be fall without pumpkin everything, would it? From sweet treats like cake and waffles to savory dishes like pasta and soup—you’ll find plenty of pumpkin in these seasonal favorites. This time of year truly embraces the versatile gourd. We often think of pumpkin for its taste, but its shape and texture also make it a wonderful canvas for creative expression, you know.
So, if you’re looking to surprise your neighbors and guests with something unexpected this season, a fish-themed pumpkin might be just the thing. It’s a chance to show off a different kind of artistry, moving beyond the usual and exploring something a little more whimsical. This guide will help you get started, offering ideas and tips for creating your very own underwater scene right on your porch, more or less.
Table of Contents
- Why Carve a Fish?
- Picking the Right Pumpkin
- Essential Tools for Your Aquatic Masterpiece
- Preparing Your Pumpkin
- Designing Your Fish
- Carving Techniques for Scales and Fins
- Lighting Up Your Underwater Scene
- Preserving Your Carved Fish
- Beyond the Carve: What to Do with Pumpkin Insides
- Showcase Your Creation
- Frequently Asked Questions About Pumpkin Carving Fish
- Conclusion
Why Carve a Fish?
You might be wondering why a fish, of all things? Well, for one, it's pretty unique. While ghosts and ghouls are fun, a beautifully carved fish can really make your pumpkin stand out in a sea of traditional designs. It shows a bit of imagination, and it’s something that both kids and adults can appreciate, actually.
Also, fish shapes can be surprisingly versatile for carving. You can go for something simple and sleek, like a goldfish, or something more intricate, like a detailed koi. The possibilities are pretty wide open, giving you lots of room to be creative. It’s a chance to explore different shapes and textures, which is kind of cool.
And, you know, with recent interest in unique pumpkin displays growing, a fish design fits right in with wanting something fresh. People are always looking for new ideas, and this is definitely one that turns heads. It’s a nice change of pace from the usual, and it can be quite charming, too.
Picking the Right Pumpkin
Choosing the best pumpkin is, like, the very first step to a great carving experience. You want one that’s fresh and firm. Give it a good tap; it should sound hollow. Look for a pumpkin with smooth, unblemished skin, especially where your fish design will go. Bumps and bruises can make carving much harder, as a matter of fact.
Consider the shape, too. A slightly elongated pumpkin might work well for a sleek, long fish, while a rounder one could be perfect for a puffier, more cartoon-like creature. Think about how the natural curves of the pumpkin can complement your chosen fish design. It really does make a difference, you know.
Also, make sure the stem is firmly attached. A loose stem can mean the pumpkin isn’t as fresh, and it might not last as long after carving. A sturdy pumpkin is a happy pumpkin, basically, ready for its transformation into something watery and wonderful.
Essential Tools for Your Aquatic Masterpiece
Having the right tools makes all the difference when you’re doing any kind of detailed work, and pumpkin carving is no exception. You don’t need a whole workshop, but a few key items will help a lot. First, you'll want a sturdy, serrated carving knife for cutting the top or bottom opening. A smaller, finer-toothed saw is good for the larger parts of your fish design, too.
For the more delicate details, like scales or eye outlines, a small, pointed carving tool or even a linoleum cutter can be really helpful. These allow for precision that a larger knife just can’t offer. Some kits come with various sizes, which is pretty convenient. You might also want a poker tool to transfer your design from paper to pumpkin, you know.
Safety is also important, so consider some sturdy gloves, especially if you’re new to carving. A large spoon or scoop will be essential for cleaning out the inside of your pumpkin, which is a bit messy but necessary. Having a good light source, like a headlamp, can also help you see your lines clearly as you work, which is pretty useful.
Preparing Your Pumpkin
Before any carving begins, your pumpkin needs a little prep work. First, decide if you’re cutting the opening from the top or the bottom. Cutting from the bottom can sometimes make for a cleaner look when the pumpkin is displayed, as the lid isn't visible. Cut a wide enough hole so you can easily reach inside, more or less.
Once the opening is made, it’s time to get all those insides out. Use a large spoon or a specialized scoop to remove all the stringy bits and seeds. Scrape the walls until they are relatively smooth and about an inch thick, especially where you plan to carve. This makes the pumpkin easier to work with and helps your design stand out when lit, too.
And speaking of those insides, don’t just toss them! Homemade pumpkin puree is easier to make than you think, and it’s perfect for all sorts of fall dishes. From pumpkin pies and pumpkin bread to savory pumpkin soup and pasta, we've got hundreds of recipes to help you make use of one of fall's favorite flavors. Whether you're craving a salty, crunchy snack or a wholesome sweet treat, these pumpkin seed recipes are just what you need. Discover what pepitas are and how they’re different from pumpkin seeds, and learn whether you can substitute pepitas for pumpkin seeds and get some of our best pepitas recipes. It’s a great way to use everything from your pumpkin, actually.
Designing Your Fish
Choosing Your Fish Type
The kind of fish you choose to carve really sets the tone for your pumpkin. A simple goldfish or a playful clownfish can be great for beginners, with their rounder shapes and clear features. For something a bit more challenging, think about a sleek shark or a majestic dolphin, which require smoother lines and more attention to their form, you know.
If you’re feeling extra artistic, a detailed koi fish, with its flowing fins and patterned body, can be absolutely stunning. Or perhaps a whimsical angelfish, with its tall fins and unique profile. Consider the space you have on your pumpkin and the level of detail you’re comfortable with. There are so many kinds of fish out there, so you have plenty of choices, really.
You could even create a whole underwater scene with multiple smaller fish, or add some seaweed and bubbles around your main fish. This adds more depth and interest to your design, making it more of a story. Just remember to keep your design somewhat simple at first if you’re new to this kind of carving, more or less.
Stencils or Freehand
Once you have your fish in mind, you need to get it onto the pumpkin. Stencils are a fantastic way to go, especially if you want a precise design or if you’re not confident in your drawing skills. You can find many fish stencils online or in carving kits. Just tape the stencil to your pumpkin and use a poker tool to transfer the outline, basically.
If you prefer to freehand, grab a dry-erase marker. These are great because you can easily wipe away mistakes and redraw until you’re happy with the shape. Sketch out the main body of the fish first, then add the fins, eyes, and any other details. Take your time with this step, as it’s the blueprint for your entire carving, you know.
For more intricate designs, you might want to draw the fish on paper first, then transfer it. This allows you to refine your drawing without messing up the pumpkin. You could even print out a picture of a real fish and trace its outline. It’s all about finding what works best for you and your chosen fish, you see.
Carving Techniques for Scales and Fins
Basic Outlines
Start by carefully carving the main outline of your fish. Use a small, sharp carving saw for this. Don’t push too hard; let the saw do the work. Go slowly and steadily, following your poked or drawn lines. If you’re carving all the way through, make sure your cuts are clean so the light shines through nicely, you know.
For parts that won't be fully cut out, like the edges of scales or fin details, you can use a technique called "shaving" or "etching." This means only removing the top layer of the pumpkin skin, allowing light to glow through the thinned-out flesh. It creates a cool, shadowed effect that adds dimension to your fish, which is pretty neat.
Always keep your non-carving hand away from the blade. Work on a stable surface, and take breaks if your hands start to get tired. It’s not a race, and safety comes first, obviously. A steady hand makes for a much better-looking fish, as a matter of fact.
Adding Depth and Texture
To make your fish truly come alive, think about adding texture. For scales, you can etch small, overlapping C-shapes or U-shapes across the body of the fish. Vary the size and depth of these etchings to create a more natural look. Some areas might be fully cut out, while others are just shaved down, you know.
Fins can be given texture by carving thin lines radiating out from the body, mimicking the delicate structure of real fins. You can also thin the pumpkin flesh in the fin areas to make them glow more brightly than the rest of the body. This adds a nice contrast and makes the fins seem more ethereal, too.
For eyes, you can either cut them out completely for a spooky glow, or etch them for a softer, more lifelike look. Adding a small, carved circle for the pupil within an etched eye can give it more character. Think about little details like gills or a mouth, which can be simple etched lines or slightly deeper cuts, you know.
Finishing Touches
Once you’re done with the main carving, take a small, soft brush to remove any loose pumpkin bits or shavings. This cleans up your design and makes it look much crisper. You might also want to gently rub a little petroleum jelly on the cut edges. This can help keep the pumpkin from drying out too quickly, which is kind of helpful.
Step back and look at your creation from a distance. Does it look like a fish? Does the light hit it in the way you imagined? Sometimes, a tiny adjustment can make a big difference. Don’t be afraid to go back and refine a line or deepen an etching if needed. It’s your fish, after all, and you want it to look its best, you know.
Consider adding small, decorative elements around your fish, like carved bubbles or wavy lines to suggest water. These small additions can really enhance the overall underwater theme and make your pumpkin even more impressive. It’s all about the little details that bring the whole thing together, pretty much.
Lighting Up Your Underwater Scene
The right lighting can truly transform your pumpkin carving fish into a glowing aquatic display. Traditional candles are a classic choice, offering a warm, flickering light that’s very cozy. Just make sure the candle is placed safely inside, away from any flammable materials, and that there’s enough ventilation, you know.
For a safer and longer-lasting option, consider battery-operated LED lights. These come in various colors, so you could even use a blue or green light to enhance the underwater feel of your fish. They don’t produce heat, so there’s no risk of fire, and they can stay lit for many hours, which is pretty convenient.
You can also experiment with string lights or small fairy lights coiled inside the pumpkin for a more diffused glow. Some people even use small flashlights. The goal is to illuminate your fish design effectively, making the carved areas stand out against the darker pumpkin flesh, you see. It’s about creating that magical glow, basically.
Preserving Your Carved Fish
Sadly, carved pumpkins don’t last forever. But there are a few things you can do to help your pumpkin carving fish stay fresh for a bit longer. As mentioned before, applying a thin layer of petroleum jelly or vegetable oil to all the cut edges can help seal in moisture and slow down drying. This is a pretty common trick, actually.
You can also mist your pumpkin with water daily, especially if it’s displayed outdoors in dry conditions. Some people even give their pumpkins a quick soak in a bathtub filled with cold water for a few hours if they start to look a little sad. This helps them rehydrate and firm up again, you know.
Keeping your pumpkin in a cool, shaded spot will also extend its life. Direct sunlight and warm temperatures will make it shrivel and decay much faster. If you live in a particularly warm climate, bringing it indoors overnight might help, too. It’s all about keeping it cool and moist, more or less, to enjoy your fish for as long as possible.
Beyond the Carve: What to Do with Pumpkin Insides
After you’ve scooped out all the insides for your pumpkin carving fish, don't let them go to waste! There's so much you can do with them. As I was saying earlier, homemade pumpkin puree is easier to make than you think. You can roast the pumpkin flesh until it's soft, then blend it up into a smooth puree. This puree is incredibly versatile, you know.
You can use that fresh puree in countless fall recipes. Think about making delicious pumpkin bread, which is the ultimate seasonal treat, and our recipe couldn’t be easier to make. With just a few simple steps, you’ll have homemade pumpkin bread that tastes like it came straight from a bakery. Or, you could make a rich pumpkin soup, perhaps a creamy pasta sauce, or even add it to a swiss roll cake for extra richness.
And those seeds? They are a fantastic snack! Whether you're craving a salty, crunchy snack or a wholesome sweet treat, these pumpkin seed recipes are just what you need. Just clean them off, toss them with a little oil and your favorite seasonings (maybe some pumpkin pie spice for extra fall flavor!), and roast them until they’re golden and crisp. They’re a really satisfying crunch, actually. You can learn more about pumpkin recipes on our site, and link to this page fall-recipes for more ideas.
Showcase Your Creation
Once your pumpkin carving fish is complete and lit, it’s time to find the perfect spot for it. Place it where it can be easily seen and admired, like on your porch, by a walkway, or in a window. Consider grouping it with other fall decorations, like hay bales, cornstalks, or other carved pumpkins, to create a fuller display, you know.
If you carved a whole school of fish, arrange them in a way that suggests movement, perhaps swimming around a larger central pumpkin. You could even add some blue lighting around them to enhance the underwater feel. Think about how the light will cast shadows and highlights, making your fish look even more dynamic, too.
Don't forget to share your creation! Take some pictures and show them off to friends and family. It’s a great way to inspire others to try something new with their pumpkins this year. A unique pumpkin carving fish is definitely something to be proud of, basically. You can find more inspiration for creative carving ideas by checking out online galleries of pumpkin art, which is pretty cool.
Frequently Asked Questions About Pumpkin Carving Fish
What kind of fish can you carve into a pumpkin?
You can carve many kinds of fish into a pumpkin, really. Simple shapes like goldfish or clownfish are good for beginners. More complex designs include koi, sharks, or angelfish. The best choice depends on your carving skill and the pumpkin's shape, obviously. A longer pumpkin might suit a sleek fish, while a round one could be a puffier, cartoon-like fish, you know.
How do you make a fish scale effect on a pumpkin?
To make a fish scale effect, you can etch small, overlapping C-shapes or U-shapes onto the pumpkin's surface. You don't cut all the way through; just remove the top layer of skin. Varying the depth and size of these etchings adds a more realistic texture. This allows light to glow through the thinned-out flesh, creating a nice visual effect, too.
What are the best tools for detailed pumpkin carving?
For detailed pumpkin carving, you'll want a small, sharp carving saw for main outlines. For finer details, a small, pointed carving tool, a linoleum cutter, or even a craft knife works well. A poker tool helps transfer designs. Safety gloves are also a good idea. These tools allow for much more precision than a regular kitchen knife, basically.
Conclusion
Creating a pumpkin carving fish is a really rewarding way to celebrate the fall season. It offers a chance to step outside the usual traditions and make something truly memorable. With the right pumpkin, a few basic tools, and a bit of patience, you can bring a piece of the ocean to your autumn display. It's a fun project for anyone looking to add a unique, artistic touch to their home this time of year, you know. So, go ahead, pick out your pumpkin, and let your imagination swim free!
Detail Author:
- Name : Christ Cartwright
- Username : xschimmel
- Email : lynn58@kunze.com
- Birthdate : 2002-10-11
- Address : 85584 Zella Underpass Apt. 654 East Geoffrey, NH 62316-4397
- Phone : +18645814361
- Company : Ledner, Rau and Kuhn
- Job : Timing Device Assemblers
- Bio : Quis qui qui consequatur libero molestias. Recusandae autem quos et voluptate asperiores. Nisi officiis voluptatem quae reprehenderit.
Socials
instagram:
- url : https://instagram.com/amina5730
- username : amina5730
- bio : Eaque at expedita est nisi et ut temporibus. Perspiciatis saepe voluptas eum. Aut ea ab sed.
- followers : 5875
- following : 1260
tiktok:
- url : https://tiktok.com/@aminad'amore
- username : aminad'amore
- bio : Quia facere porro dolore enim cumque velit ad. Officia non illum ipsam animi.
- followers : 1053
- following : 864
linkedin:
- url : https://linkedin.com/in/amina.d'amore
- username : amina.d'amore
- bio : Aut voluptas vitae asperiores perspiciatis porro.
- followers : 1540
- following : 1924
