
Have you ever found yourself captivated by the truly striking look of a stag beetle? Maybe you've seen their incredible, almost antler-like jaws and just felt that urge to put pencil to paper, to try your hand at a stag beetle drawing. It's a very common feeling, you know, because these creatures are quite something. They possess a kind of natural armor and a presence that makes them a really popular subject for artists, whether you're just starting out or have been drawing for ages.
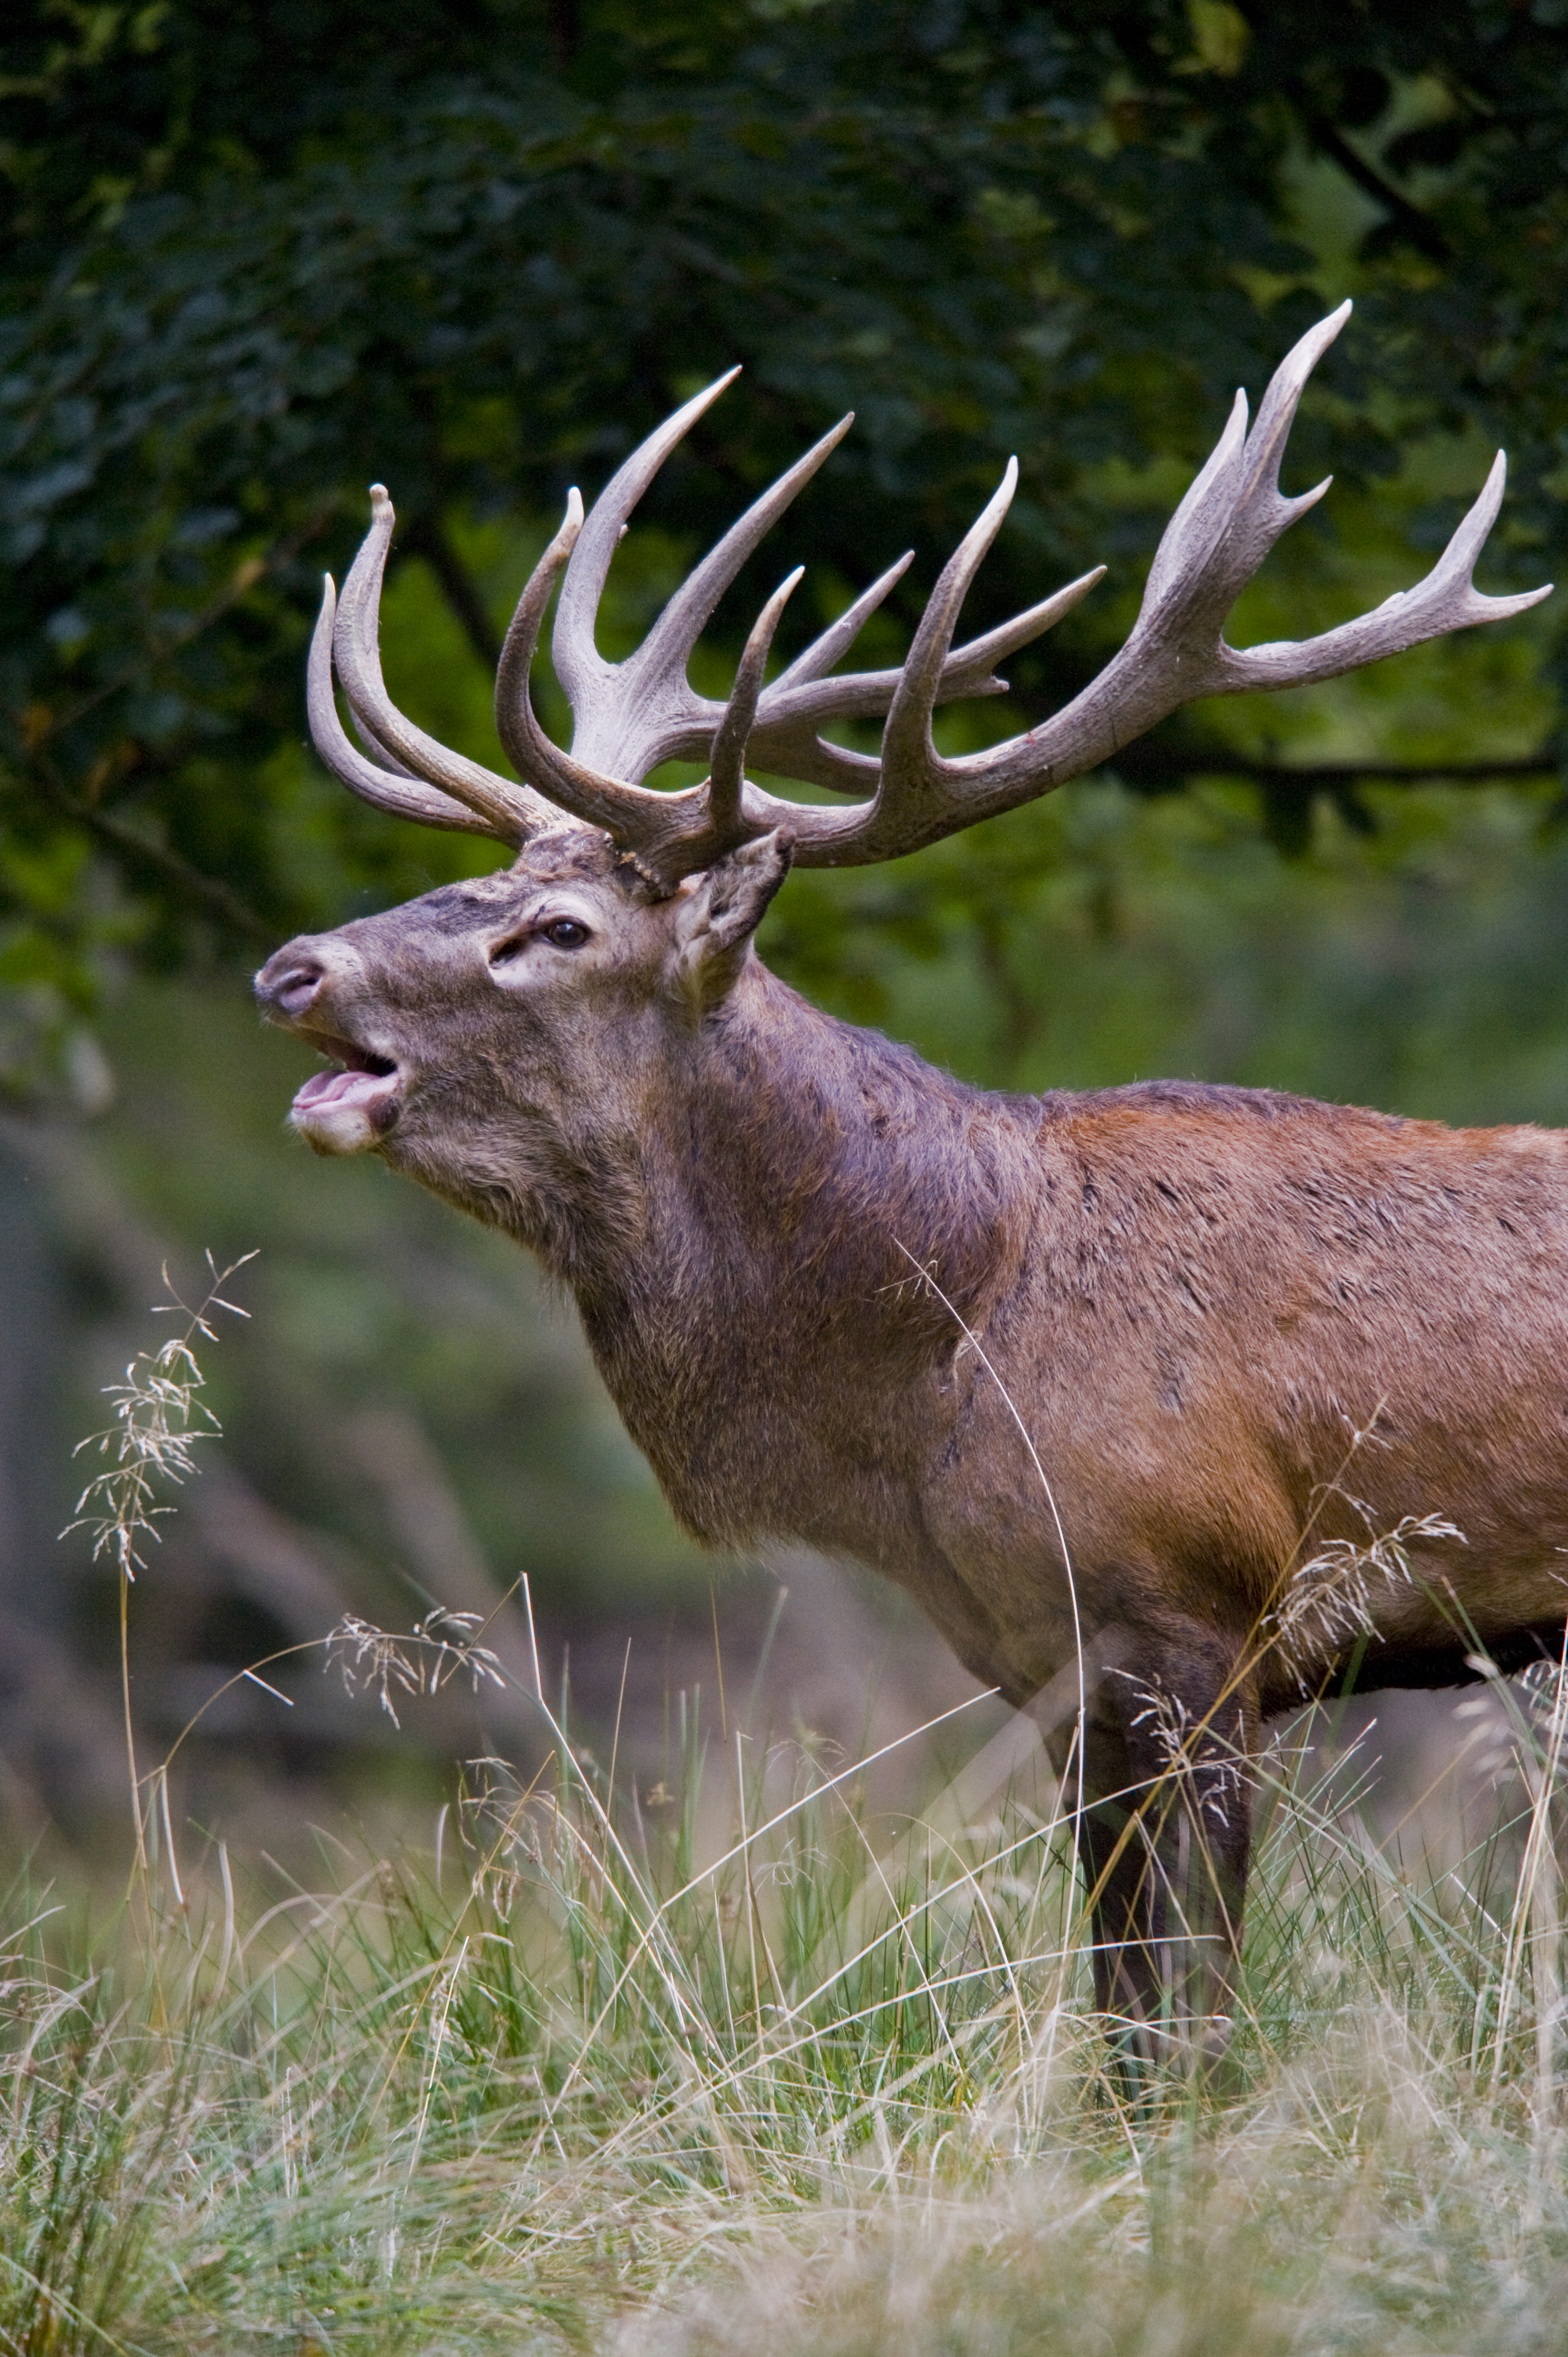
It's pretty interesting, isn't it, how the word "stag" can bring up different pictures in your head? For instance, when we talk about a "stag" by itself, it usually makes us think of a big, adult male deer, like a red deer, a magnificent creature often called a hart, as some of my reference material points out. But when we add "beetle" to it, we're talking about something else entirely, a truly unique insect that, in a way, just happens to share a name part with those impressive forest dwellers. This particular beetle, with its distinctive features, offers a wonderful challenge and a chance to really explore detailed natural forms through your art.
So, if you're keen on bringing one of these amazing insects to life on your page, you've definitely come to the right spot. We're going to walk through everything you need to know, from the basic supplies you might need to those little tricks that make your stag beetle drawing pop. You'll get some practical advice, and we'll look at how to capture their unique qualities. It's about helping you feel more confident and just really enjoy the process of creating something beautiful, actually.
Table of Contents
- What Makes Stag Beetle Drawing Special?
- Getting Ready: Your Drawing Toolkit
- Step-by-Step: Drawing Your Stag Beetle
- Tips for a Lifelike Stag Beetle Drawing
- Common Pitfalls to Avoid
- Exploring Different Drawing Styles
- Frequently Asked Questions About Stag Beetle Drawing
What Makes Stag Beetle Drawing Special?
A stag beetle drawing really stands out because of the insect's distinct appearance. It's not just another bug; these creatures have a certain majesty, you know, a very strong presence. Their particular anatomy offers a lot of interesting challenges and opportunities for an artist. We're talking about forms that are both powerful and quite delicate in their own way, which is something you can really play with on paper.
The Unique Mandibles
The first thing almost everyone notices about a male stag beetle is its mandibles, or those big, impressive jaws. They look very much like the antlers of a deer, and this is where the "stag" part of their name comes from, naturally. When you're doing a stag beetle drawing, these mandibles are often the main focus, and getting their shape, size, and curve just right is quite important. They can be very long and branching, or shorter and more robust, depending on the specific beetle, so you have options, actually.
These mandibles aren't just for show, either; they're used for fighting other males and for defense. They have a rough, almost serrated edge in some species, and capturing that texture can add a lot of depth to your stag beetle drawing. Think about how light hits them, creating highlights and shadows that show off their bulk. It's almost like sculpting with your pencil, really, trying to get that three-dimensional feel.
Body Structure and Form
Beyond the mandibles, the stag beetle's body has a very distinct structure. It's usually quite broad and flattened, with a sturdy thorax and abdomen. The head is often small in comparison to the mandibles, and the legs are thick and segmented, designed for gripping. When you're working on a stag beetle drawing, paying attention to these basic shapes first can really help. You can start with simple ovals and rectangles, then gradually refine them, which is a good way to build a solid foundation.
The way their body segments connect also plays a big role in how they look. There's a slight overlap, a kind of armored plating that gives them their tough appearance. Getting these connections right, showing how one part flows into the next, can make your stag beetle drawing feel much more believable. It's about seeing the beetle as a series of connected forms, not just flat shapes, you know.
Texture and Shine
Stag beetles have an exoskeleton that can range from dull matte to a high gloss, sometimes even with a metallic sheen. This means that a stag beetle drawing can offer a wonderful chance to experiment with different textures and how light reflects off surfaces. Some species are a deep, rich brown, while others might have hints of reddish-black. Capturing this variety is very rewarding, and it helps bring your drawing to life.
To show shine, you'll need to use sharp contrasts between light and dark, creating bright highlights and deep shadows. For a matte texture, you might use more subtle shading and a softer pencil stroke. It's all about observing how light behaves on their shell, and then trying to replicate that with your chosen medium. You can, for instance, use a kneaded eraser to lift out highlights, which is a neat trick, pretty effective.
Getting Ready: Your Drawing Toolkit
Before you even make your first mark for a stag beetle drawing, it's a good idea to gather your supplies. You don't need a huge collection of expensive items, especially if you're just starting out. What's most important is having tools that you feel comfortable with and that allow you to express what you see. Sometimes, a very simple setup can yield amazing results, actually.
Basic Supplies to Start
For a fundamental stag beetle drawing, you'll want a few key things. First, good quality drawing paper. Something with a bit of tooth, not too smooth, works well for pencil. Then, a range of graphite pencils. An HB for general sketching, a 2B or 4B for darker lines and shading, and perhaps a harder pencil like a 2H for light initial outlines. You'll also need a reliable eraser, a kneaded eraser is particularly useful for lifting graphite without smudging, and a simple pencil sharpener. That's more or less it for a solid start, you know.
Having a good reference image is also super important. You might find detailed photos online, or even visit a natural history museum if you can, to see real specimens. The more you study the beetle, the better your stag beetle drawing will be. It's like preparing for a trip; the more you know about your destination, the smoother the journey, right?
Advanced Options for Depth
Once you're comfortable with the basics, you might want to explore other tools to add more depth and interest to your stag beetle drawing. Charcoal pencils can give you very deep blacks and a rich, velvety texture. Blending stumps or tortillons are great for smoothing out shading and creating soft transitions. You could also try white charcoal or gel pens for highlights on darker paper, which can be quite dramatic.
For those interested in color, colored pencils, watercolors, or even digital drawing tablets open up a whole new world. Each medium offers a different feel and look, allowing you to capture the beetle's natural hues in various ways. Experimenting is key here, finding what feels right for you and your particular stag beetle drawing vision. You might even find you like mixing media, which is a fun approach, too it's almost a given.
Step-by-Step: Drawing Your Stag Beetle
Let's get down to the actual process of creating your stag beetle drawing. Breaking it down into smaller, manageable steps can make the whole thing feel less overwhelming. Remember, it's not about perfection on the first try; it's about building up your drawing layer by layer. Every artist starts somewhere, you know, and practice makes a real difference.
Starting with Basic Shapes
Begin your stag beetle drawing by lightly sketching the most basic geometric shapes that make up the beetle's body. Think of the head as a small oval or rectangle, the thorax as a wider, slightly curved rectangle, and the abdomen as a larger, elongated oval. The mandibles can be simple curved lines or a rough 'U' shape for now. These initial lines should be very light, barely visible, because you'll be refining them later. This is your skeleton for the drawing, basically.
Place these shapes on your paper, paying attention to their overall size relationship and where they sit. Is the beetle facing left or right? Is it seen from above, or slightly from the side? Getting these early placements right will save you a lot of trouble later on. It's like setting up the foundation for a house; you want it to be solid, you know.
Adding the Head and Mandibles
Once your basic body shapes are in place, start to refine the head. Add the small, distinct eyes, usually located on the sides of the head. Then, move to those iconic mandibles. These are probably the most challenging part of a stag beetle drawing, so take your time. Observe their curve, their thickness, and any smaller points or teeth along their edges. Remember, they branch out, almost like a pair of tongs, so try to capture that outward sweep.
You can use slightly firmer lines now, but still keep them relatively light so you can adjust them. Consider the perspective; if the beetle is angled, one mandible might appear shorter or overlap the other. This attention to detail at this stage really helps the drawing feel more dynamic. It's a bit like sculpting, trying to get that sense of volume, actually.
Shaping the Body and Legs
Next, work on shaping the thorax and abdomen, connecting them smoothly. The thorax is often wider than the head and has a distinct, somewhat shield-like shape. The abdomen typically tapers slightly towards the end. Then, add the legs. Stag beetles have six legs, and they are usually quite thick and segmented, with tiny claws at the end. They often appear bent at various angles, giving the beetle a sense of movement or stability.
Draw the legs in sections, focusing on the joints. Think about which legs are visible and which might be partially hidden by the body. The legs also have a certain texture, sometimes with small hairs or spines, which you can add later. Getting the legs right gives your stag beetle drawing a sense of realism and grounding, which is very important, you know.
Detailing the Exoskeleton
Now comes the fun part: adding the finer details to the exoskeleton. This is where your stag beetle drawing really starts to take on its unique character. Look closely at your reference. Are there subtle ridges, tiny bumps, or patterns on the beetle's shell? Some areas might be smoother, while others have a rougher texture. Use small, controlled strokes to indicate these details.
Pay attention to the lines that define the different plates of the exoskeleton. These lines are not always perfectly straight; they often have a slight curve or angle. You might also notice tiny punctures or pits on the surface, which you can suggest with very small dots or dashes. This level of detail, though it takes time, really elevates your stag beetle drawing, making it look much more believable, you know.
Bringing It to Life with Shading
Shading is what gives your stag beetle drawing its three-dimensional form and makes it pop off the page. Identify your light source: where is the light coming from? This will tell you where the highlights will be brightest and where the shadows will be deepest. Start with lighter tones and gradually build up your darks. Use a range of pencil grades to get different values.
Think about how the curved surfaces of the beetle's body would catch the light. The mandibles, for instance, will have very distinct highlights and shadows that emphasize their bulk. Use cross-hatching, blending, or stippling to create different textures and smooth transitions. Don't forget the cast shadow beneath the beetle; this helps ground it on the page. It's pretty amazing how much difference shading makes, actually, it's like magic.
Tips for a Lifelike Stag Beetle Drawing
Making your stag beetle drawing look truly alive involves more than just getting the shapes right. It's about capturing the essence of the creature, its texture, and its interaction with light. These tips can help you push your drawing to the next level, giving it that realistic touch, you know.
Observing Real Beetles or References
The best way to create a convincing stag beetle drawing is to study real beetles. If you can't observe one in person, find high-quality photographs from multiple angles. Look at how their legs bend, how their mandibles connect to their head, and the subtle variations in their shell color and texture. Notice the tiny details, like the antennae or the small hairs on their legs. The more you observe, the more you'll understand what makes them unique.
You might even try sketching quickly from different reference images, just to get a feel for their forms without worrying about perfection. This helps build your visual memory and understanding of the beetle's structure. It's like learning a new language; the more you immerse yourself, the more fluent you become, you know. Learn more about drawing techniques on our site.
Playing with Light and Shadow
Light and shadow are incredibly important for making your stag beetle drawing look three-dimensional. Don't just shade generally; think about specific light sources. Is the light coming from above, from the side, or from behind? This will determine where your brightest highlights and darkest shadows fall. Sharp contrasts create a sense of shine, while softer transitions suggest a matte surface.
Consider reflected light too – light bouncing off the surface the beetle is resting on, subtly illuminating its underside. This adds a lot of realism and depth. Using a range of pencil hardnesses, from a light H pencil for subtle tones to a dark B pencil for deep shadows, will give you more control over your values. It's a very subtle art, playing with light, but it makes a huge difference, really.
Capturing Texture and Details
Stag beetles have fascinating textures. Their hard, chitinous shells can be smooth and glossy, or slightly pitted and rough. The mandibles often have a ridged or serrated appearance. To capture these textures in your stag beetle drawing, vary your pencil strokes. Use short, crisp lines for sharp edges, and softer, blended strokes for smooth surfaces. For a bumpy texture, you might use tiny dots or very short, broken lines.
Don't forget the smaller details, like the segmented antennae, the tiny hairs on their legs, or the individual plates of their armor. These small touches, while seemingly minor, add a lot to the overall realism and character of your drawing. It's like adding seasoning to a dish; those little bits make it truly flavorful, you know, quite impactful.
Adding a Sense of Environment
While the stag beetle itself is the star of your stag beetle drawing, adding a hint of its natural environment can greatly enhance the piece. A simple twig, a few leaves, or a patch of moss can provide context and make the beetle feel like it belongs somewhere. This also gives you an opportunity to play with different textures and backgrounds, making your composition more interesting.
You don't need to draw a whole forest; just a suggestion of the habitat is often enough. A blurred background can help the beetle stand out even more. This also allows you to think about how the beetle interacts with its surroundings, perhaps gripping a branch or resting on the forest floor. It's a nice touch, actually, that little bit of context.
Common Pitfalls to Avoid
Even experienced artists face challenges, and a stag beetle drawing can present its own set of common hurdles. Knowing what to watch out for can help you prevent frustration and improve your results. It's all part of the learning process, you know, figuring out what works and what doesn't. We all make mistakes, and that's perfectly fine, you know.
Getting Proportions Right
One of the most common issues in a stag beetle drawing is getting the proportions wrong. The mandibles might be too big or too small for the body, or the legs might look too thin or too short. This can make the beetle look unnatural or unbalanced. To avoid this, always start with those basic shapes and compare their sizes to each other before adding details. Use your pencil to measure relative lengths and widths on your reference image, then transfer those measurements to your drawing.
Step back from your drawing frequently to view it from a distance. This helps you spot proportional errors that you might miss when you're up close. Sometimes, flipping your drawing upside down or looking at it in a mirror can also reveal imbalances. It's a very simple trick, but it's surprisingly effective, you know, almost like magic.
Avoiding Flatness
Another challenge is making your stag beetle drawing look flat, without a sense of volume. This often happens when there isn't enough variation in shading or when the light source isn't clearly defined. To


Detail Author:
- Name : Domenick Pollich I
- Username : cboehm
- Email : jeremie.herzog@hotmail.com
- Birthdate : 1970-02-23
- Address : 2757 Zieme Inlet Apt. 024 Harbermouth, NM 66832-4672
- Phone : +1.302.883.3380
- Company : O'Hara, Ebert and Wolff
- Job : Chemical Engineer
- Bio : At corrupti voluptatem perspiciatis esse voluptates pariatur. Aut inventore adipisci modi ipsum. Sapiente eum voluptas sint nihil saepe. Officia magnam illum quos voluptates et.
Socials
twitter:
- url : https://twitter.com/camren.boehm
- username : camren.boehm
- bio : Et est magni aut nihil qui voluptas. Qui quidem reprehenderit impedit qui. Non pariatur consequuntur fugit iure eaque. Molestias hic perspiciatis facilis quod.
- followers : 790
- following : 1563
linkedin:
- url : https://linkedin.com/in/boehm1971
- username : boehm1971
- bio : Illum expedita accusantium nemo consequatur.
- followers : 989
- following : 1462
instagram:
- url : https://instagram.com/camren.boehm
- username : camren.boehm
- bio : Delectus aut eum cumque dolorem nesciunt. Est nulla numquam non sit est tempore harum debitis.
- followers : 4785
- following : 96
tiktok:
- url : https://tiktok.com/@boehmc
- username : boehmc
- bio : Debitis vitae distinctio ullam aperiam consectetur.
- followers : 4884
- following : 853
facebook:
- url : https://facebook.com/camren_real
- username : camren_real
- bio : Velit iste pariatur inventore sed ad a.
- followers : 5773
- following : 1715
