
The visual style of the 1980s, with its striking grid lines and glowing neon, really captures people's attention. This particular aesthetic, often called retrowave, brings back a sense of cool nostalgia. It's a look that feels both futuristic and from a past time, so it's quite popular for many sorts of creative work.
You might have seen this style in movies, music videos, or even on album covers. It just has this distinct feel. Think about the iconic 80s show, Miami Vice, for example. That show was known for its stylish visuals and its music, which really set a mood. The look we are talking about, with its bright colors and geometric shapes, takes a lot of inspiration from those kinds of visuals, you know, the ones that make you think of chrome and sunsets.
Many artists and designers like to use this style for their projects, and they often use Adobe programs to make it happen. It's a way to give things a very specific kind of energy. If you are looking to create something that feels like it came straight from that era, using these grid lines and neon glows is a very good place to start, as a matter of fact.
Table of Contents
- What is the Retrowave Look?
- Getting Started with Retrowave Grid Lines in Adobe
- Bringing in the Neon Elements
- Tips for a Great Retrowave Look
- Common Questions About Retrowave Grid Lines Neon
- Final Thoughts
What is the Retrowave Look?
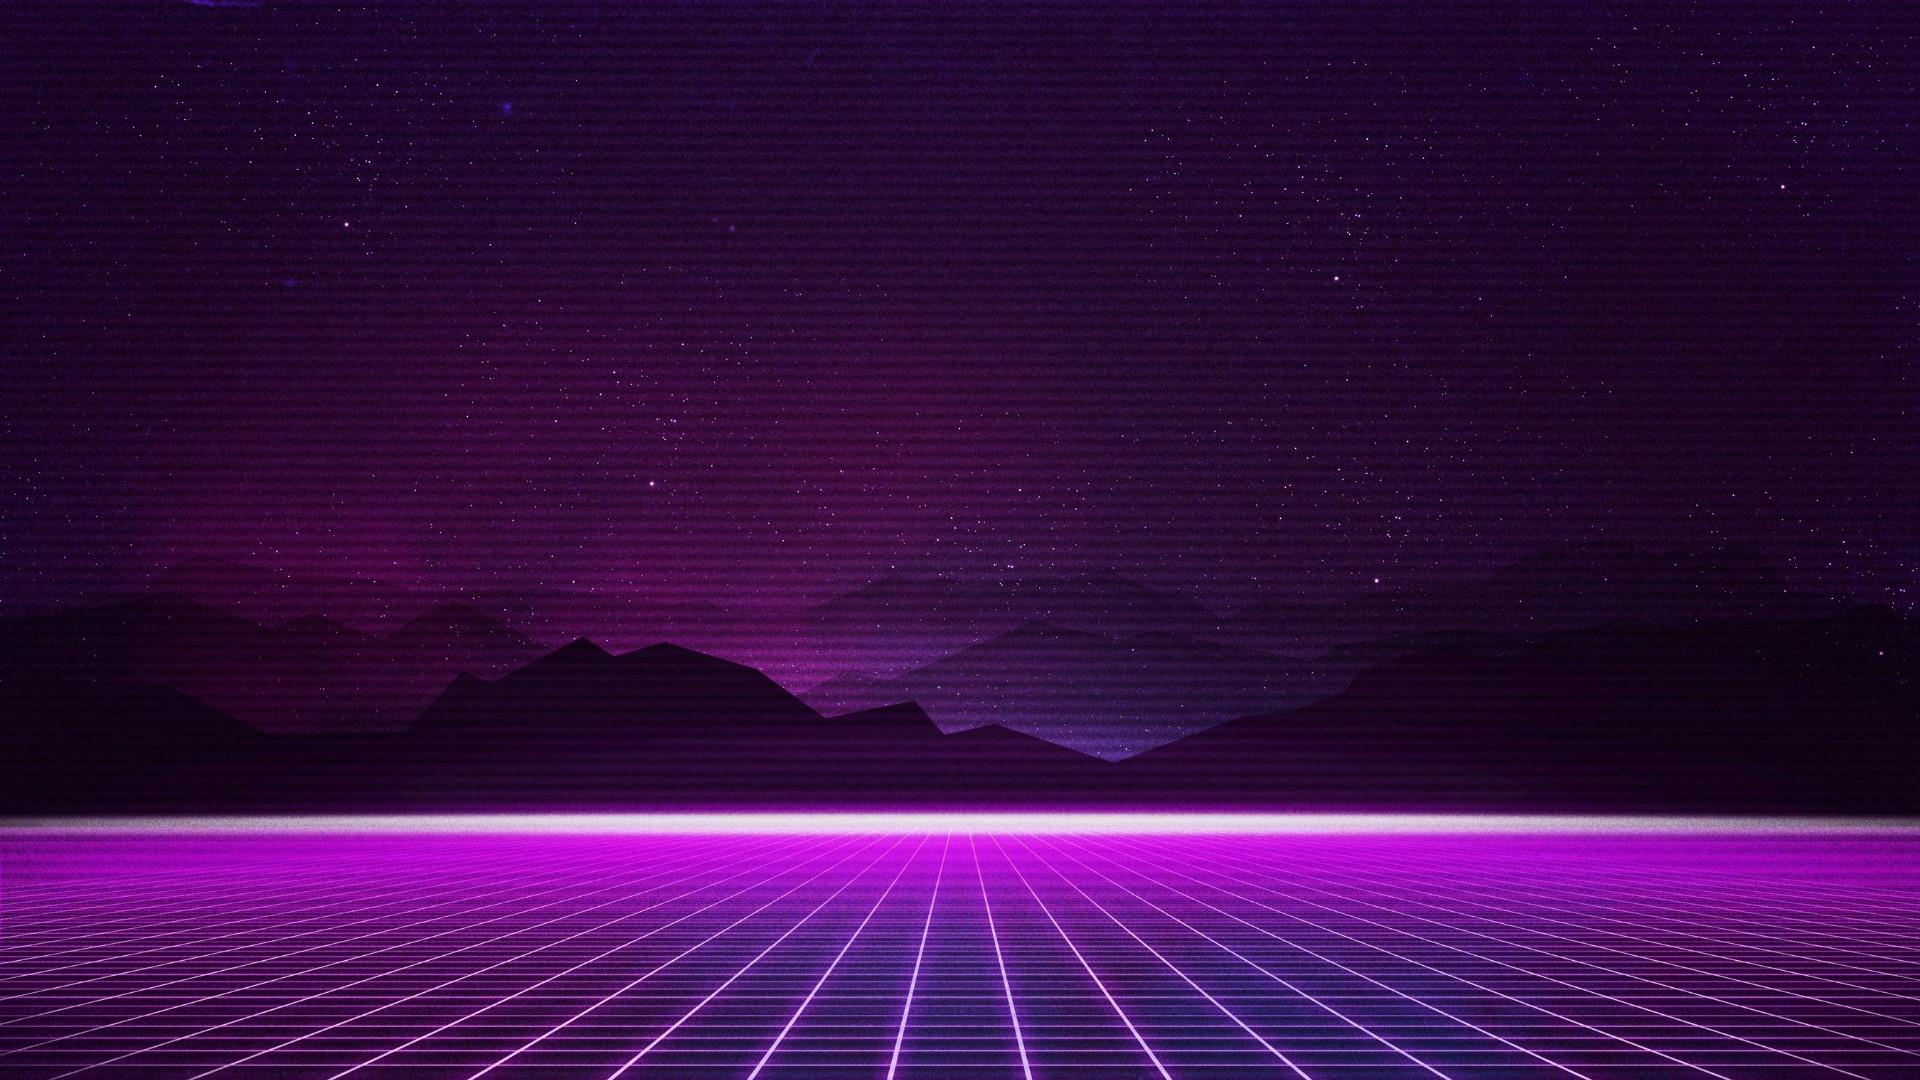
The retrowave look, sometimes called synthwave, is a visual style that takes its cues from the 1980s. It often features elements like glowing neon lights, futuristic cityscapes, and geometric grid patterns. This style often has a feeling of looking back at a future that never quite happened, so it's a bit dreamy.
People often ask about the difference between synthwave and retrowave. Honestly, there is not much difference between them nowadays. They are used interchangeably in many contexts, especially when talking about the visuals. Both styles draw from the same well of 80s influences, like early electronic music and those cool movie posters from that time, you know.
This style usually has a dark background, making the bright colors stand out even more. You will often see purples, blues, pinks, and oranges used together. These colors really make the neon elements pop. It's a very striking combination, and it creates a strong visual impact, too it's almost.
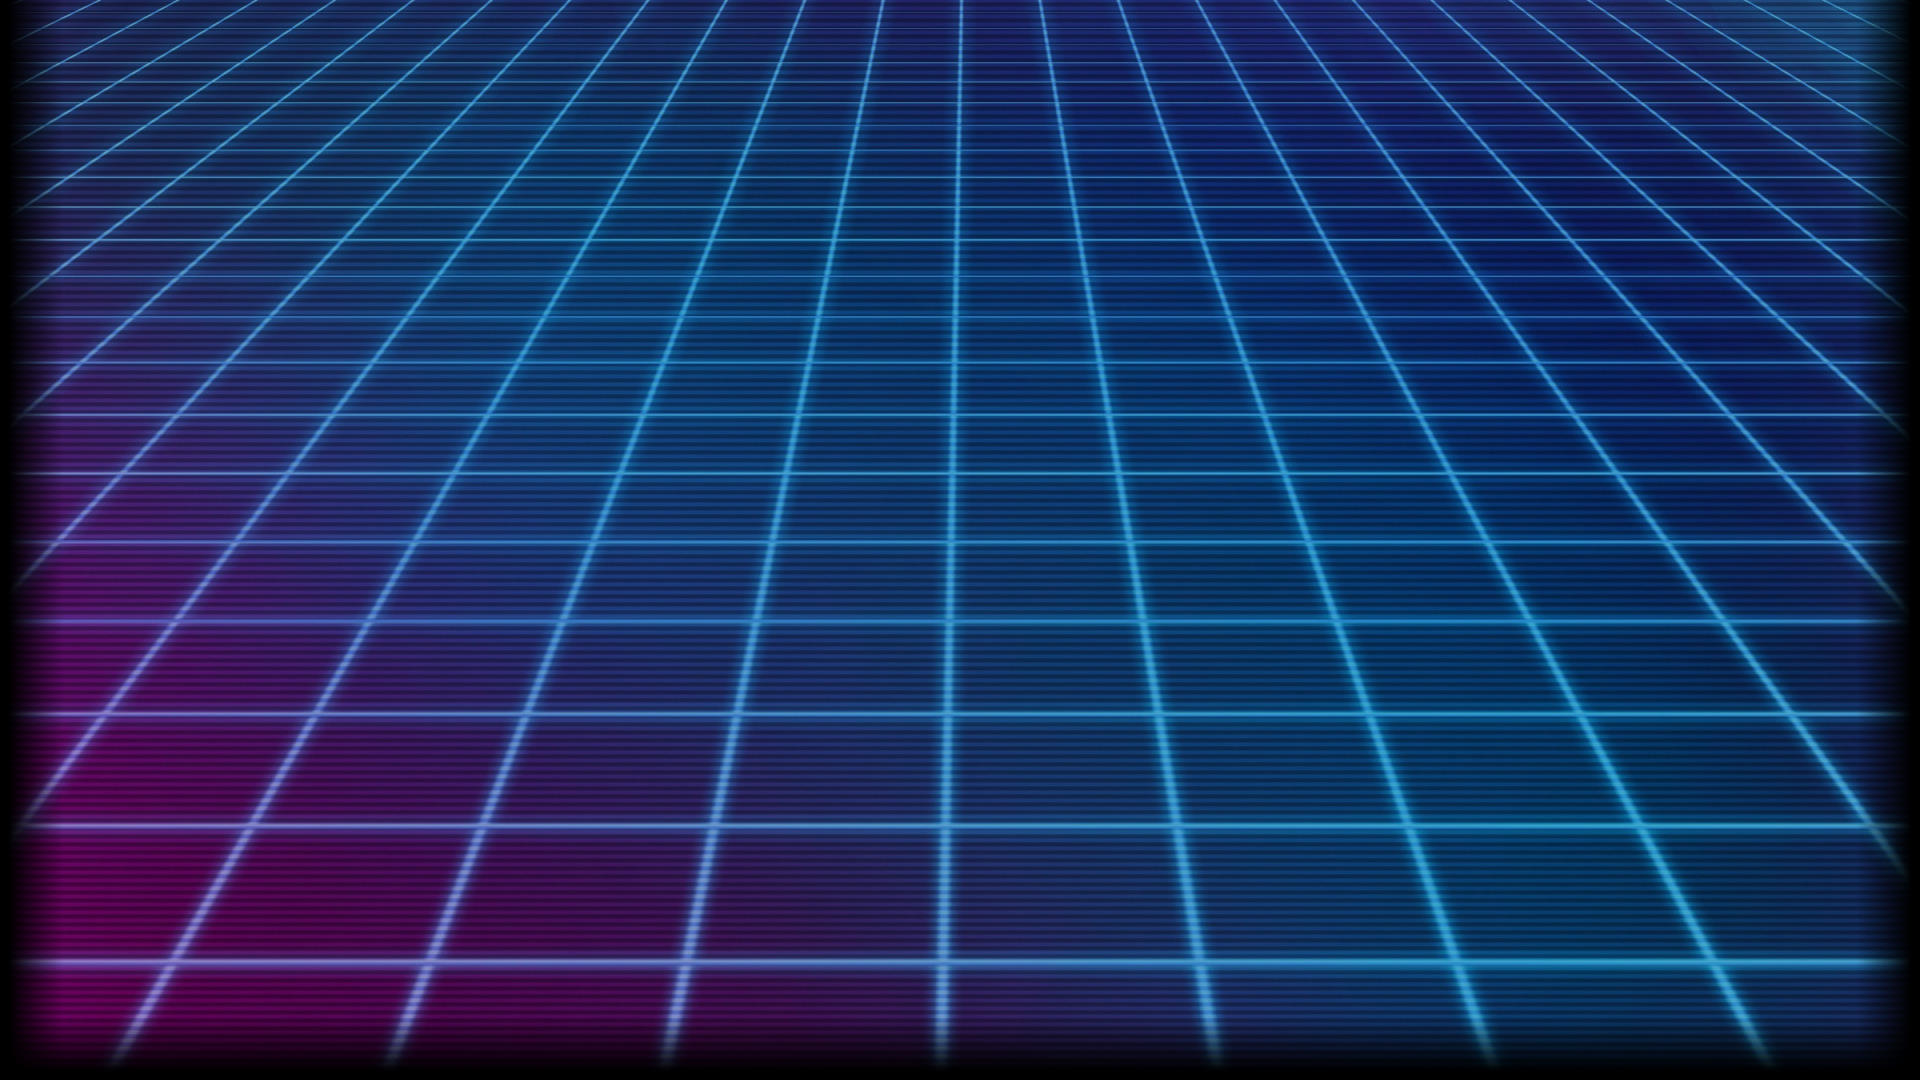
The grid lines are a very important part of this look. They often appear to stretch into the distance, giving a sense of deep space or an endless road. This creates a feeling of perspective and adds a futuristic touch. It is a key part of what makes the retrowave style so recognizable, so.
You might also see chrome finishes, palm trees, or silhouetted figures against a sunset. These are all common things that people put into retrowave designs. They help to build the whole picture. It is a style that truly builds a whole world with its pictures, you know.
Getting Started with Retrowave Grid Lines in Adobe
Making retrowave grid lines and neon effects in Adobe programs is quite possible for most people. You can use programs like Adobe Photoshop or Adobe Illustrator for different parts of the work. Each program has its own strengths for getting this look, and you can even use them together, basically.
Photoshop is great for adding glows and blending colors. Illustrator, on the other hand, is really good for making precise lines and shapes that are easy to change. If you want to animate these things, Adobe After Effects is where you would go. It's all about picking the right tool for the job, as a matter of fact.
The basic idea is to create your lines, then make them look like they are glowing. After that, you add other elements that fit the 80s theme. It sounds simple, and in some ways, it is, but getting it just right takes a little bit of practice, you know.
Setting Up Your Canvas
First, you will want to open either Photoshop or Illustrator and create a new document. The size of your document will depend on what you are making, but a good starting point might be something like 1920 by 1080 pixels for a screen background. Make sure your background color is dark, usually black or a very dark blue or purple, so.
In Photoshop, you can just fill the background layer with a dark color. In Illustrator, you can draw a large rectangle and fill it. This dark base helps your neon colors really stand out. It provides a good contrast, which is very important for the look, really.
Consider the mood you want to set. A completely black background can feel more stark, while a very dark purple or blue can add a bit more atmosphere. It is a small choice, but it can change the feeling of the whole piece, actually.
Drawing the Grid
To make the grid lines, you can use a few methods. In Illustrator, you can draw straight lines with the Pen tool or Line Segment tool. Then, you can copy and paste them, moving them to create a pattern. This helps keep things very neat, obviously.
For a perspective grid, you can use the Perspective Grid tool in Illustrator. This tool helps you draw lines that seem to go into the distance, like a road or a tunnel. It is a very helpful feature for getting that classic retrowave look, you know, the one that pulls you in.
In Photoshop, you can also draw lines, but you might want to use the Grid feature under View to help you line things up. Then, you can use the Pen tool or even the Line tool to create your grid. You can also make a grid in Illustrator and bring it into Photoshop as a Smart Object, which is pretty useful, right?
Once you have your basic lines, think about how they will look. Will they be thin or thick? Will they be perfectly straight or slightly curved? These small choices can make a big difference in the overall feel of your art, as a matter of fact.
You can also use a brush in Photoshop to draw lines, especially if you want them to have a slightly rougher, more artistic feel. Just make sure your lines are consistent if you want a clean, digital look. Consistency is key for this style, usually.
Adding Neon Glow
This is where the retrowave look truly comes alive. To make your lines glow, you will use layer styles in Photoshop. Select your line layer, then go to Layer > Layer Style > Outer Glow. Here, you can pick a bright color, like electric blue, magenta, or bright cyan, so.
Adjust the size and spread of the glow to make it look just right. A larger size will make the glow spread out more, while a higher spread will make it more intense. You can also add an Inner Glow for a more defined light source, which is pretty cool, you know.
In Illustrator, you can apply a "Glow" effect to your lines. Go to Effect > Stylize > Outer Glow. You can pick a color and adjust the blur. While Illustrator's glow is not as robust as Photoshop's, it still works well for vector graphics, as a matter of fact.
You can also duplicate your line layers and apply different glow settings to each. This can create a richer, more complex glow effect. It is like layering light, and it really adds depth to your picture, really.
Think about the color of your glow. Different colors can give different feelings. A bright pink might feel more playful, while a deep blue could feel more mysterious. It is all about the mood you want to create, you know.
Bringing in the Neon Elements
Beyond the grid lines, other shapes and objects often get the neon treatment in retrowave art. These can be simple geometric shapes like circles, triangles, or squares. You can make these shapes in either Photoshop or Illustrator and then apply the same glow effects, so.
Text is also a very big part of the retrowave style. Use fonts that look like they came from the 80s, often sans-serif or blocky styles. Apply the same neon glow to your text to make it stand out. This helps everything feel connected, you know, like it all belongs together.
You can create silhouettes of palm trees, cars, or even people and place them against a glowing background. These silhouettes add a sense of story and scale to your design. They often appear to be in the distance, against a sunset or a starry sky, which is kind of neat.
Think about how these elements interact with your grid. Do they sit on it, or do they float above it? This helps create a sense of space and perspective in your artwork. It is all about building a believable, even if imagined, world, you know.
Sometimes, you might see reflections on a shiny surface, like a wet road or a chrome object. These reflections add to the realism and the overall atmosphere of the piece. They can be a bit tricky to make, but they really make the light feel more real, basically.
Iconic Colors and Gradients
The color palette is very important for retrowave. Think about bright, almost electric colors. Common pairings include magenta and cyan, electric blue and hot pink, or purple and orange. These colors create a very striking contrast, which is pretty cool.
Gradients are also used a lot, especially sunset gradients. These often go from a bright orange or yellow at the bottom to a deep purple or blue at the top. This creates the feeling of a late evening sky, which is a very common image in retrowave art, you know.
You can create gradients in Photoshop using the Gradient tool, or in Illustrator using the Gradient panel. Experiment with different color combinations to find what works best for your picture. There are many ways to mix these colors, so.
Consider adding a subtle noise or grain effect to your gradients. This can give them a slightly retro, analog feel, like an old video tape. It is a small touch that can add a lot of character to your design, honestly.
The choice of colors can really set the mood. Bright, bold colors often feel more energetic, while softer, more muted neon tones can create a more dreamy or melancholic feel. It is all about what you want your art to say, as a matter of fact.
Adding Depth and Atmosphere
To make your retrowave scene feel more real, add elements that create depth. A star field in the background can make it seem like your grid is in outer space. You can create stars by using a scatter brush in Photoshop or by drawing small dots, you know.
Subtle fog or haze can also add to the atmosphere. This can be done with soft brushes in Photoshop, using a low opacity. The fog can make distant objects seem less clear, which helps with the feeling of depth, so.
Light rays coming from the sun or a bright source can also be added. These can be made with simple shapes and then blurred or given a glow effect. They really help to make the scene feel more dynamic, which is pretty good.
Think about where your light is coming from and how it would affect the scene. Is it a sunset, or is it artificial light from the city? This helps you place your glows and shadows in a way that makes sense, as a matter of fact.
Adding small details, like reflections on a shiny floor or subtle distortions, can also make the picture feel more complete. These little things can truly make a big difference in how people see your art, you know.
Tips for a Great Retrowave Look
When creating retrowave art, try to keep things consistent. The colors, the type of glow, and the overall style should feel like they belong together. This makes your art look more polished and put-together, basically.
Do not be afraid to look at other retrowave art for inspiration. There are many artists who create amazing pieces in this style. Seeing what others do can give you new ideas for your own work, which is pretty helpful, you know.
Balance your bright neon with dark spaces. The contrast between light and dark is what makes the neon really pop. If everything is bright, nothing stands out. It is all about finding that good mix, so.
Experiment with different blend modes in Photoshop for your glow layers. Screen and Linear Dodge (Add) are often good choices for making light effects. Playing around with these settings can give you very different results, as a matter of fact.
Remember that this style is about a feeling, too. It is about nostalgia, a bit of futurism, and a certain kind of cool. Try to bring that feeling into your work, not just the technical parts. That is what truly makes the art special, you know.
You can learn more about retrowave design on our site for additional insights. We have other articles that go into different aspects of digital art creation. You might find more inspiration there, too it's almost.
Common Questions About Retrowave Grid Lines Neon
How do I make a grid that goes into the distance in Adobe Photoshop?
To make a grid that looks like it goes into the distance in Photoshop, you can start by drawing a simple grid on a new layer. Then, you can use the Free Transform tool by pressing Ctrl+T (or Cmd+T on Mac). Right-click on the bounding box and choose "Perspective." Drag the corner handles to make the grid appear to stretch into the background. You might need to refine this with the Warp tool or by duplicating and scaling layers, you know.
What are the best colors for a retrowave neon glow?
The best colors for retrowave neon glow are typically bright, saturated hues that stand out against a dark background. Think about electric blues, vibrant magentas, hot pinks, and bright cyans. Sometimes, a strong orange or purple is also used. The key is to pick colors that look like they are truly glowing, so.
Can I make retrowave art in Adobe Illustrator only, or do I need Photoshop?
You can certainly make a lot of retrowave art in Adobe Illustrator only, especially for the grid lines and vector shapes. Illustrator is excellent for precise, scalable graphics. For the glow effects, Illustrator has some options, but Photoshop often provides more control and realistic results for softer, diffused glows. Many artists use both programs together: Illustrator for the main shapes and lines, and Photoshop for the final lighting and effects. It really depends on the exact look you want, as a matter of fact.
Final Thoughts
Creating retrowave grid lines and neon effects in Adobe programs is a fun and rewarding way to make striking visuals. It lets you play with light, color, and perspective to build something that feels both familiar and exciting. You can really get creative with it, you know.
Keep experimenting with the tools and techniques mentioned. Each time you try, you will learn something new about how to get that perfect glow or that deep perspective. It is a process of discovery, honestly.
There are many resources out there to help you on your way. You can find tutorials and inspiration from other artists who love this style. Just keep practicing, and your retrowave art will get better and better, as a matter of fact.
You might also want to explore other retro styles here on our site, as there are many different eras and looks to draw from. Each one has its own charm, and you might find another favorite, you know.

Detail Author:
- Name : Johnny Kerluke
- Username : amckenzie
- Email : johathan.okeefe@kunze.com
- Birthdate : 1986-11-05
- Address : 4865 Jamar Vista Port Moriah, WY 63900
- Phone : 580-687-0927
- Company : Cassin-Jaskolski
- Job : Police Detective
- Bio : Ipsum qui amet fugit non qui qui corrupti. Labore autem exercitationem sed deserunt alias assumenda. Doloremque facere doloribus occaecati. Aut similique officiis eos itaque quam nemo.
Socials
facebook:
- url : https://facebook.com/morriseffertz
- username : morriseffertz
- bio : Doloribus quia temporibus et rem. Nostrum ut magnam rem magnam.
- followers : 2562
- following : 2380
twitter:
- url : https://twitter.com/meffertz
- username : meffertz
- bio : Natus perspiciatis enim consequatur qui. Et perspiciatis alias dolorem eligendi earum consectetur. In veritatis minus eveniet doloremque numquam.
- followers : 5493
- following : 2113
