
There is something truly special about bringing tiny plastic beads together to form a vibrant picture, and when that picture happens to be a charming mushroom, the joy just multiplies. Perler beads, with their simple design and endless possibilities, let you make delightful little pieces of art. So, too it's almost, the current love for all things whimsical and nature-inspired, especially mushrooms, makes this a perfect time to explore this fun craft.
Making things with your own hands offers a wonderful feeling of accomplishment. You get to see an idea come to life, bead by tiny bead. This process, you know, can be very calming and a great way to express your creative side. Imagine a cute mushroom taking shape right before your eyes, ready to brighten up any space or become a thoughtful little gift.
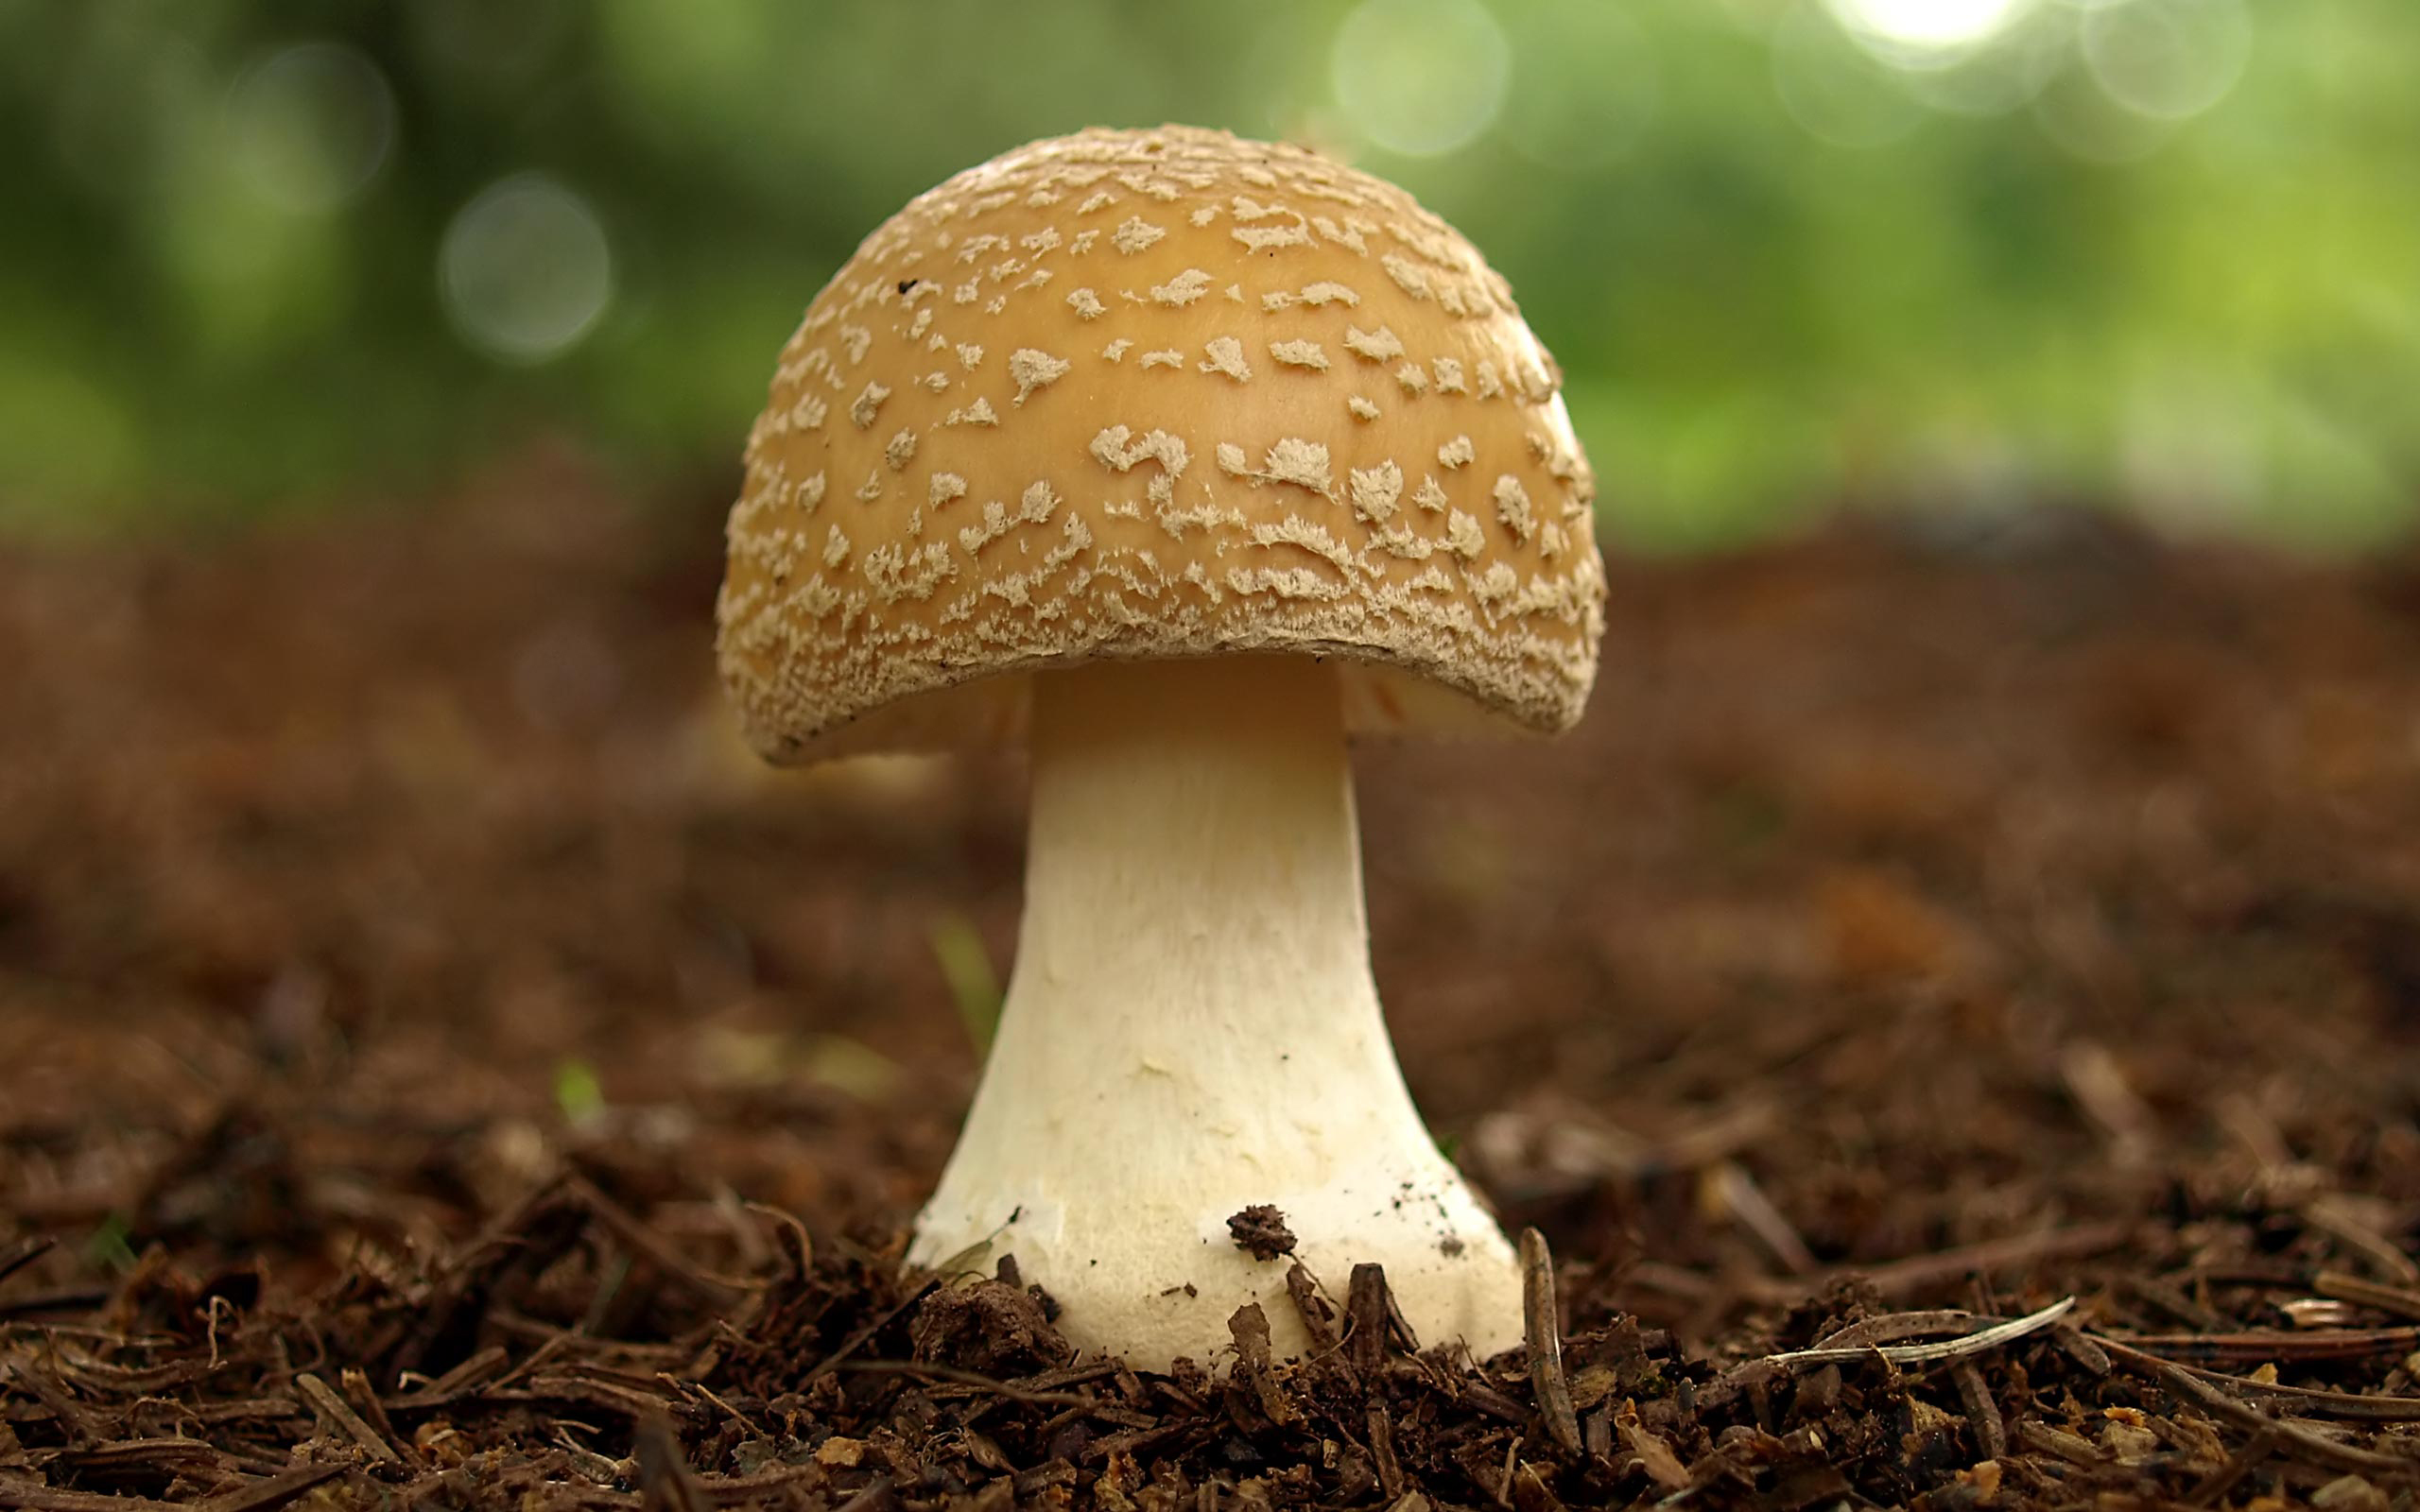
If you have ever admired the unique shapes and colors of mushrooms, you will surely enjoy making them in perler bead form. From the classic red-capped kind to more unusual varieties, there are so many ways to design your very own mushroom perler art. We will show you how to start, what you need, and give you some cool ideas to get your craft on.
Table of Contents
- The Allure of Mushroom Perler Art
- What You Need to Start Your Mushroom Perler Project
- Designing Your Mushroom Perler Patterns
- Step-by-Step: How to Make Your Mushroom Perler
- Creative Ways to Use Your Finished Mushroom Perlers
- Troubleshooting Common Perler Challenges
- Frequently Asked Questions About Perler Beads and Mushrooms
- Start Your Mushroom Perler Adventure
The Allure of Mushroom Perler Art
Mushroom perler art holds a special charm for many people, and it is pretty easy to see why. The simple, blocky nature of perler beads lends itself so well to the distinct shapes of mushrooms. You can make them look cartoonish or a bit more true to life, depending on your style.
This kind of craft also connects us to nature in a fun, artistic way. You get to bring a piece of the forest, sort of, into your home. It is a very appealing idea for those who enjoy a bit of woodland magic in their everyday surroundings.
Moreover, perler bead projects are quite accessible for all ages. Youngsters and grown-ups alike can enjoy the process of placing beads and seeing their designs come to life. It is a very rewarding hobby, offering a sense of calm and focus as you create.
What You Need to Start Your Mushroom Perler Project
Before you begin making your charming mushroom perler creations, you will need to gather a few key items. Having everything ready makes the whole process much smoother. It is really about setting yourself up for success from the very beginning.
Essential Supplies
First off, you will need the perler beads themselves. These little plastic cylinders come in a huge variety of colors. For mushrooms, you will want reds, browns, creams, whites, and maybe some greens for grass or accents, you know, to give them that earthy feel.
Next, you will need a pegboard. These are the plastic plates with little pegs that you place your beads onto. Square pegboards are very versatile for many designs, including most mushroom shapes. A bigger one gives you more room to create.
Ironing paper is also a must-have. This special paper, sometimes called parchment paper, goes between your iron and the beads. It stops the beads from sticking to your iron and helps them melt together evenly, which is pretty important.
Finally, you will need a household iron. A regular clothes iron works perfectly fine. Just make sure it is clean and ready to use, as a matter of fact, so you do not get any unexpected marks on your artwork.
Optional Extras for More Fun
To make your bead placement a bit easier, tweezers can be very helpful. They let you pick up and position individual beads with greater precision, especially for tiny details or if you have bigger fingers. This can really speed things up.
A bead sorter or small containers are also quite useful. Keeping your colors separate stops you from digging through a big mixed pile, which can be a little frustrating. It makes finding the right shade much quicker, obviously.
You might also want some design templates or graph paper. While you can freehand your mushroom perler, having a guide can be great for beginners or for trying out more complex designs. You can find many patterns online, too it's almost.
For protecting your work surface, a heat-resistant mat is a good idea. This keeps your table safe from the heat of the iron. It is a simple step that really helps keep things tidy and secure.
Designing Your Mushroom Perler Patterns
The fun part of mushroom perler art is that you can get very creative with your designs. There are so many kinds of mushrooms in the world, which means endless inspiration for your perler projects. You can make them as simple or as detailed as you wish, you know.
Classic Mushroom Looks
When you think of a mushroom, a classic red-capped, white-stemmed toadstool often comes to mind. This iconic look is a fantastic starting point for perler art. You can easily make the red cap with white spots, and a simple cream or white stem, as a matter of fact.
These classic designs are great for beginners. They use fewer colors and simpler shapes, making them quick to put together. You can even add a little green base to make it look like it is growing out of the ground, which is pretty neat.
Think about varying the size of the spots on the cap, or making the stem a little wider or narrower. These small changes can give each classic mushroom its own unique character. It is really about playing with the basic form.
Exploring Different Mushroom Types for Inspiration
Did you know there are many, many different kinds of mushrooms? My text mentions there are 21 most common types, and even 39 different types of edible mushrooms. This wide variety means you have a huge pool of ideas for your perler art.
For instance, some mushrooms, like beech mushrooms, have a very unusual crunchy texture and a mild flavor. While you cannot replicate the texture in perler beads, you can certainly capture their distinct shape and color. They tend to be long and slender, for example.
You could try making a perler version of a shiitake mushroom, with its broad, flat cap and darker brown color. Or perhaps a morel, with its unique honeycomb-like cap, which would be a fun challenge with the beads. This is where you can really get creative with patterns.
Consider the different colors you see in real mushrooms. Some are bright yellow, others deep purple, and many are various shades of brown and gray. A mushroom, you know, is the part of a fungi that is comparable to the fruit of a plant. Unlike plants, mushrooms do not use sunlight to generate energy for themselves, which is a pretty cool fact.
Even though a toadstool generally refers to a poisonous mushroom, and a mushroom can also be called a toadstool, for perler art, we often focus on the charming, friendly looking varieties. You can make perler art that looks like the best tasting varieties or those with the most health and medicinal benefits, just for fun, obviously.
Size and Color Choices
When designing, think about the size of your mushroom perler. A small one might be good for a keychain, while a larger one could be a wall decoration. The size will dictate how many beads you need and how much detail you can include, as a matter of fact.
Color choice is also very important. While the classic red and white is popular, do not be afraid to experiment. A blue-capped mushroom with purple spots could be very whimsical. Or a green-stemmed one with a yellow cap, which is pretty unique.
You can use different shades of the same color to add depth. For example, a light brown for the stem and a darker brown for the cap can make your mushroom look more realistic. It is all about how you blend those tiny beads together, you know.
Step-by-Step: How to Make Your Mushroom Perler
Making a mushroom perler is a straightforward process, but following these steps will help you get the best results. It is a bit like following a recipe, where each step builds on the last. So, let us get started, right?
Setting Up Your Work Area
First, find a flat, sturdy surface to work on. A table or desk is perfect. You will want good lighting, too, so you can clearly see the tiny beads. This helps a lot with accuracy, you know.
Lay down your pegboard on this surface. If you have a heat-resistant mat, put that down first, just to be safe. Having a clean and organized space makes the whole experience much more enjoyable, obviously.
Arrange your beads by color within easy reach. If you are using a pattern, have it open next to you so you can easily follow along. This preparation really makes a difference, as a matter of fact.
Placing the Beads with Care
Now, start placing your beads onto the pegs of the board, following your chosen mushroom design. Begin with the outline, then fill in the colors. Use tweezers if you find it easier to handle the small beads, you know.
Make sure each bead sits firmly on its peg. If a bead is not fully down, it might not melt properly when you iron it. Take your time with this step; precision here leads to a better finished piece, which is pretty important.
Double-check your design before moving on. It is much easier to fix a misplaced bead now than after it has been ironed. Just a little check can save you some trouble later, you know.
The Ironing Process for Your Perler Beads
Once all your beads are in place, carefully lay a piece of ironing paper over your design. Make sure it covers all the beads completely. This paper is essential for the melting process, obviously.
Set your iron to a medium heat setting, usually no steam. Gently press the iron onto the ironing paper, moving it in small circles. You want to melt the beads just enough so they fuse together, but not so much that they flatten completely. This takes a little practice, you know.
Keep ironing until you see the beads start to connect through the paper. Lift the paper occasionally to check your progress. You are looking for a uniform, slightly melted appearance. It usually takes about 10-30 seconds, depending on your iron and the size of the design, as a matter of fact.
Once one side is melted, carefully remove the ironing paper. Then, gently peel the design off the pegboard. Be careful, as the plastic will be hot and flexible. If you want a stronger piece, you can flip it over, place the ironing paper on the un-ironed side, and iron that side too. This makes the design more durable, which is pretty good.
Cooling and Finishing Touches
After ironing, place your hot perler design under something heavy and flat, like a thick book. This helps to keep it from curling as it cools. Let it cool completely for several minutes. This step is pretty important for a flat, finished piece, you know.
Once cool, your mushroom perler is ready! You can trim any excess ironing paper if needed. Admire your new creation! It is a very satisfying moment, honestly, seeing your hard work pay off.
Creative Ways to Use Your Finished Mushroom Perlers
Now that you have made some lovely mushroom perler art, what can you do with them? There are so many fun ways to display or use your creations. They are pretty versatile, actually.
You could turn them into keychains. Just add a small jump ring and a keychain attachment to the top of your mushroom. They make really cute and personalized accessories, you know, for your keys or backpack.
Another idea is to make them into magnets. Simply glue a small magnet to the back of your perler mushroom. They are perfect for decorating your fridge or a magnetic board, which is pretty useful.
Consider using them as unique coasters for drinks. If you make them large enough and iron both sides well, they can protect your surfaces from condensation. Just make sure they are completely flat, you know, for stability.
They also make charming wall decorations. You can frame them, or simply stick them to a wall with a bit of sticky tack. A collection of different mushroom perlers can create a lovely, whimsical display in a room, as a matter of fact.
You can even incorporate them into greeting cards or gift tags. A handmade perler mushroom adds a very personal touch to any present. It shows you put thought and effort into it, which is pretty special.
For more ideas on what to do with your crafts, you can learn more about crafting projects on our site. You might find even more inspiration there, you know, for other creative endeavors.
Troubleshooting Common Perler Challenges
Sometimes, things do not go exactly as planned when working with perler beads. But do not worry, most common issues have simple fixes. It is all part of the learning process, you know.
If your beads are not melting together, your iron might not be hot enough, or you are not ironing for long enough. Try increasing the heat slightly or holding the iron on the paper for a few more seconds. Just be careful not to over-iron, obviously.
If your design is curling or warping after ironing, it is usually because it cooled too quickly or unevenly. Make sure to place it under a heavy book or something flat immediately after removing it from the pegboard. Let it cool completely before moving it, as a matter of fact.
Sometimes, beads might stick to the ironing paper. This often happens if the iron is too hot or if you are using the wrong kind of paper. Make sure you are using actual perler ironing paper or good quality parchment paper. If it still sticks, let it cool a little longer before trying to peel it off, you know.
If your beads are melting too much and losing their hole in the middle, your iron is too hot or you are pressing too hard. Reduce the heat or use lighter pressure. You want the beads to fuse, but still keep their distinct round shape, which is pretty important.
If beads fall off the pegboard before you iron, it can be a bit frustrating. Try working on a very stable surface and avoid bumping the board. Using tweezers can also help with precise placement, reducing the chance of knocking other beads off, you know.
For more general craft tips, you can always link to this page our top craft picks. There is a lot of helpful information there, you know, for all sorts of creative endeavors.
Frequently Asked Questions About Perler Beads and Mushrooms
People often have questions when they are getting into new crafts, and mushroom perler art is no different. Here are some common things people ask, you know, about these fun projects.
Can I use any type of iron for perler beads?
Yes, pretty much any standard household iron will work. Just make sure it is clean and does not have any sticky residue on the bottom. You will want to use a medium heat setting without steam, obviously, for the best results.
How do I make my mushroom perler more durable?
To make your perler design stronger, you can iron both sides of the piece. After ironing one side and letting it cool slightly, carefully flip it over, place the ironing paper on the un-ironed side, and iron that side too. This fuses both sides, making the design much more solid, as a matter of fact.
Where can I find patterns for different mushroom perler designs?
There are tons of patterns available online! A quick search for "mushroom perler bead patterns" will bring up many options. You can find simple ones for beginners or more complex designs for experienced crafters. Pinterest and craft blogs are great places to look, you know, for inspiration.
Start Your Mushroom Perler Adventure
Creating mushroom perler art is a delightful and rewarding hobby. It lets you explore your creativity, make charming little pieces, and connect with the whimsical side of nature. With just a few simple supplies and a bit of patience, you can bring all sorts of colorful fungi to life, you know, in bead form.
Whether you are making a classic red-capped mushroom or trying to capture the unique look of a beech mushroom, the process is very enjoyable. Remember, the key is to have fun with it and let your imagination guide you. So, why not gather your beads and start your own mushroom perler adventure today? You might be surprised by how much you enjoy it, honestly.
.JPG)
:max_bytes(150000):strip_icc()/__opt__aboutcom__coeus__resources__content_migration__mnn__images__2017__10__Amanita_muscaria-c14db283610642a7b02e7cb261da93da.jpg)
Detail Author:
- Name : Alice Howe
- Username : hester.schulist
- Email : mschowalter@bode.info
- Birthdate : 1979-08-06
- Address : 31242 Eric Lock Rexborough, NH 02162-4652
- Phone : 1-463-926-5764
- Company : Konopelski Inc
- Job : Head Nurse
- Bio : Reiciendis qui nihil dolor sed inventore minima voluptatem temporibus. Corporis et qui velit et et aut debitis. Aut ipsam nesciunt excepturi perspiciatis delectus. Et quisquam quasi voluptatum sit.
Socials
linkedin:
- url : https://linkedin.com/in/ari1393
- username : ari1393
- bio : Consectetur soluta et ut ut repellat id et.
- followers : 3405
- following : 164
tiktok:
- url : https://tiktok.com/@kunzea
- username : kunzea
- bio : Magnam at ea minima ut ex. Sed itaque eius et.
- followers : 1608
- following : 989
instagram:
- url : https://instagram.com/arikunze
- username : arikunze
- bio : Hic animi aut vitae ratione. Et qui ut saepe et et optio. Consequatur rerum aspernatur quia error.
- followers : 2990
- following : 2138
twitter:
- url : https://twitter.com/ari5726
- username : ari5726
- bio : Libero laudantium repellat ex ut sint libero eligendi. Ab quas possimus nisi voluptas deserunt voluptate. Enim sed modi voluptatum error sed quam.
- followers : 6677
- following : 384
