
Have you ever wished for a special way to share a message, something truly unique and just for you and a cherished person? Perhaps you're looking for a gift that speaks volumes without saying a word, or maybe a personal reminder of something important. Well, a morse code bracelet might be just the thing. It's a clever, personal piece of jewelry that holds a hidden meaning, making it a perfect present or a lovely addition to your own collection, and you can make it yourself!
Making a morse code bracelet lets you put a secret message right on your wrist, or on the wrist of someone you care about, too it's almost like having a little secret handshake. These bracelets use a simple system of dots and dashes, or what some call "dits" and "dahs," to spell out words or names. It's a cool blend of old-school communication and modern style, offering a thoughtful touch that mass-produced items just can't match, you know?
This project is a fun way to get creative, and it doesn't require a lot of fancy tools or materials. It's surprisingly simple to put together, and the result is a beautiful, meaningful item that carries a personal story. So, if you're ready to craft something truly special and learn a bit about a fascinating communication method along the way, let's get started, shall we?
Table of Contents
- Why Make a Morse Code Bracelet?
- What You'll Need for Your DIY Bracelet
- Understanding the Morse Code Alphabet
- Planning Your Secret Message
- Step-by-Step Guide to Making Your Bracelet
- Design Ideas and Personalization
- Caring for Your Morse Code Bracelet
- Common Questions About Morse Code Bracelets
- Your Finished Secret Message Creation
Why Make a Morse Code Bracelet?
There are many wonderful reasons to create your own morse code bracelet, you know. For one, it offers a really personal touch that store-bought items often lack. You get to choose the exact message, the colors, and the style, making it truly yours or a perfect fit for the recipient.
These bracelets make thoughtful presents for birthdays, anniversaries, or just because. Imagine giving a friend a bracelet that spells out "strength" or "hope" in a hidden code, or perhaps your sibling's name. It's a gesture that shows you put time and care into their gift, which is pretty special, isn't it?
Beyond gifts, they are a fantastic way to keep a meaningful word or phrase close to you. Maybe you want to remember a special date, a personal motto, or even the "SOS" signal for good measure, just in case. Having that little reminder on your wrist can be quite comforting, and it's a bit of a conversation starter too, actually.
What You'll Need for Your DIY Bracelet
Gathering your materials is the first step in this fun project. Luckily, most of what you need is easy to find at craft stores or even around the house, typically. You won't need anything too exotic for this, which is good.
Beads and String
Beads for Dots: These should be small, round beads. Think about using a single color, or maybe two different colors for a bit of contrast. These will represent the short signals, or "dots," in your code, you know.
Beads for Dashes: These should be longer, tube-shaped, or rectangular beads. They need to be clearly different from your dot beads so your message is readable. They stand for the long signals, the "dashes," obviously.
Spacer Beads (Optional): Tiny beads, perhaps a different color, can be used to separate letters or words in your message. This helps make the code easier to read and gives the bracelet a neat look, too. They are not strictly necessary, but they can help.
Beading String or Cord: Choose a strong, thin cord that your beads can easily slide onto. Waxed cotton cord, nylon cord, or even fishing line can work well. Make sure it's durable enough for a bracelet, and that it won't break easily, right?
Tools and Extras">Tools and Extras
Scissors: For cutting your string, naturally.
Measuring Tape or Ruler: To get the right length for your string and to measure your wrist, usually.
Clipboard or Taping Surface: Something to hold your string steady while you work. This makes the beading process much simpler, believe me.
Bead Stopper or Tape: To keep beads from sliding off one end of your string while you're working on the other side, that's important.
Optional: Crimp Beads and Clasps: If you want a more polished, adjustable bracelet, you can use crimp beads and a jewelry clasp. This is a good option for a professional look, and it means the bracelet can be taken on and off more easily.
Optional: Jewelry Pliers: If using crimp beads and clasps, small pliers will be very helpful for securing them.
Understanding the Morse Code Alphabet
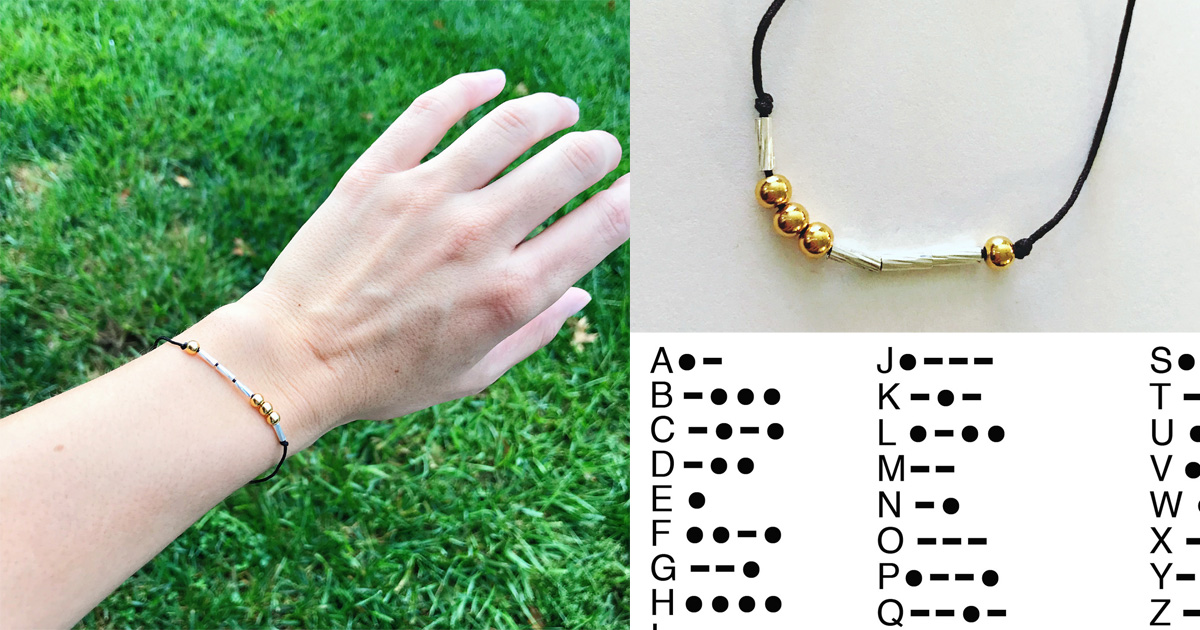
Morse code is a communication system that uses short and long signals, or "dots" and "dashes," to represent letters, numbers, and punctuation. Every letter, number, and special character has a specific combination of these signals, apparently. For instance, the letter 'A' is dot-dash, while 'B' is dash-dot-dot-dot, you know.
You can find many online morse code translators and charts that will show you the exact patterns for each character. These tools are fantastic for converting your chosen text into morse code and vice versa. Some can even translate between morse code and different alphabets, like Latin, Hebrew, Arabic, and Cyrillic, which is pretty neat.
A good online morse code translator, decoder, and generator can help you learn the patterns and convert your message easily. Some even let you hear the sounds or see the flashes of the code, which helps with learning. You can also save the sound and share a link to use it, if you like. This makes learning and using morse code a bit more interactive.
For common words and phrases, like the "SOS" signal (dot-dot-dot dash-dash-dash dot-dot-dot) or how to say "I love you" (dot-dot dash-dot-dot-dot dash-dash dot-dot-dot-dot dot-dot-dot-dot dash-dash-dash dot-dot dash-dot dash-dash-dash), these are often readily available online. Knowing these common ones can be a fun starting point, you know.
Planning Your Secret Message
Before you start stringing beads, decide on the message you want to encode. Keep it relatively short, especially for your first bracelet, as longer messages mean more beads and more chances for a mix-up. A single word, a name, or a short phrase works really well, usually.
Once you have your message, use an online morse code translator to convert it into dots and dashes. Write down the sequence clearly. For example, if your message is "LOVE," it would break down like this: L (dot-dash-dot-dot) O (dash-dash-dash) V (dot-dot-dot-dash) E (dot). This clear breakdown will guide your beading, so it's very important to get it right.
Consider how you'll separate letters and words. A common way is to use a slightly larger spacer bead, or a different color bead, to mark the end of each letter. For spaces between words, you might use two or three spacer beads, or a longer dash bead. This makes the message much easier to read once it's finished, and it looks nice, too.
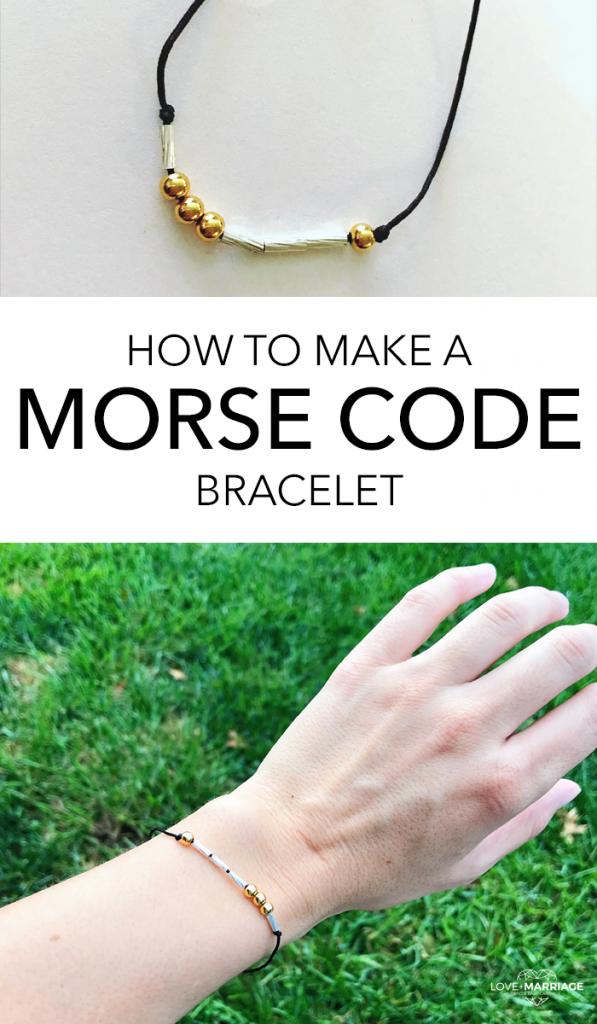
Step-by-Step Guide to Making Your Bracelet
Now for the fun part: putting it all together! Take your time with each step to ensure your message comes out perfectly. It's not a race, so just enjoy the process, you know.
Step 1: Prepare Your String
Measure a piece of beading string that's about 10-12 inches long. This gives you plenty of room to work with and to tie knots later. You can always trim excess string, but you can't add more, so a bit extra is better, really. Tie a simple knot at one end of the string, or use a bead stopper, to prevent your beads from sliding off while you work. This is a small but very helpful step, obviously.
Step 2: Start Your Message
Begin by stringing a few regular beads onto your cord. These will be the decorative beads at the beginning of your bracelet before your secret message starts. The number of these beads is up to you; some people like just one or two, while others prefer a longer decorative section. This sets the stage for your coded part, so make it look nice.
Step 3: Add Your Morse Code
Refer to your written morse code sequence. For each dot, string on one of your "dot" beads. For each dash, string on one of your "dash" beads. After each letter, add your chosen spacer bead or beads to mark the separation. This keeps your message clear and readable. Take it one character at a time, and double-check your work as you go, which is always a good idea.
For example, if your first letter is 'L' (dot-dash-dot-dot): you would string a dot bead, then a dash bead, then a dot bead, then another dot bead. After that, you'd add your letter-separator bead. Then you move on to the next letter, and so on. This method helps keep things organized, apparently.
When you finish your coded message, add more regular beads to the end of the string, mirroring the decorative beads you put at the beginning. This creates a balanced look for the bracelet, which is something many people like. Make sure the total length of the beaded section fits comfortably around the wrist, leaving enough room for tying a knot or attaching a clasp, you know.
Step 4: Finish Your Bracelet
Once all your beads are strung, it's time to secure your bracelet. If you're using a simple knot closure, tie a secure double knot at each end of the beaded section. You can then tie these two ends together to form the bracelet. Make sure the knot is tight and won't come undone easily, which is very important.
For a more adjustable and durable finish, consider adding crimp beads and a clasp. Slide a crimp bead onto one end of the string, then thread the string through one loop of your clasp, and then back through the crimp bead. Flatten the crimp bead with pliers to secure it. Repeat this process on the other end of the bracelet. This method gives a professional look, and it means the bracelet can be put on and taken off easily, which is quite convenient, actually.
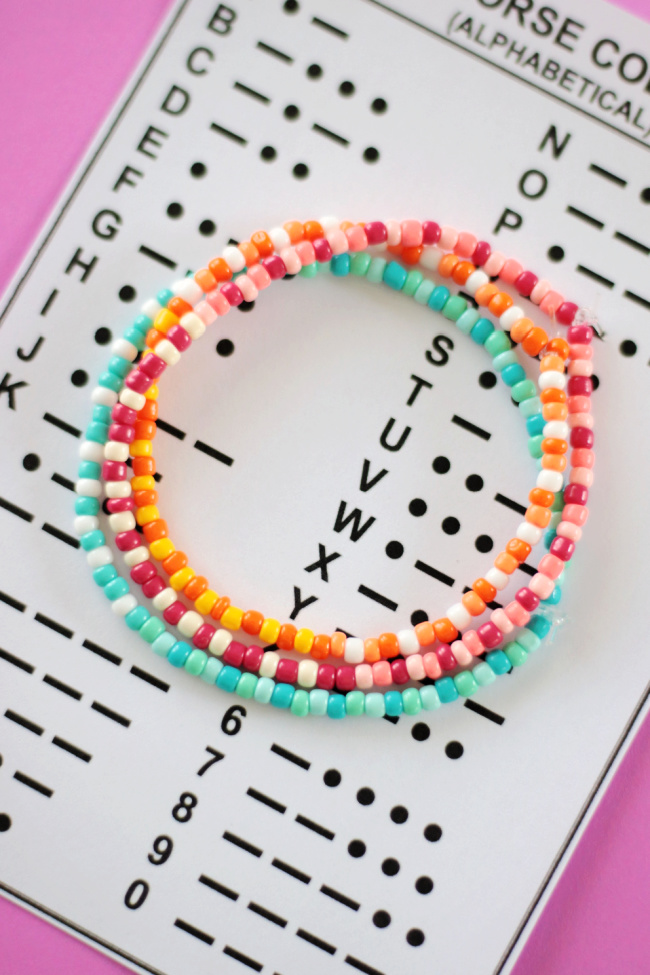
Design Ideas and Personalization
The beauty of a DIY morse code bracelet is how much you can personalize it. Don't be afraid to experiment with different bead types, colors, and textures. You could use natural wood beads for a rustic feel, or shiny glass beads for a bit of sparkle, for example.
Think about the person who will wear the bracelet. Do they prefer bright colors or more subtle tones? What kind of style do they usually wear? Matching the bracelet to their personal taste makes it even more special, obviously. You might even consider using beads that have a personal meaning, like birthstone colors, if you know them.
You can also play with the placement of your coded message. Instead of having it in the middle, maybe put it off to one side, or even repeat a short word multiple times around the bracelet. The possibilities are really quite open, you know. This lets you be truly creative with your design.
Caring for Your Morse Code Bracelet
To keep your handmade morse code bracelet looking its best, a little care goes a long way. Avoid wearing it while swimming or showering, as water can weaken the string over time and might affect certain types of beads. Some beads might lose their shine or even change color with prolonged water exposure, apparently.
If your bracelet gets dirty, gently wipe it with a soft, dry cloth. For more stubborn spots, a slightly damp cloth can be used, but make sure to dry it thoroughly afterward. Store your bracelet in a dry place, away from direct sunlight, to prevent fading or damage to the beads and string. Keeping it in a jewelry box or a soft pouch is a good idea, usually.
Periodically check the knots or clasps to make sure they are still secure. If you notice any fraying in the string, it might be time to consider re-stringing the bracelet to prevent it from breaking. A little bit of attention will help your special piece last for a long time, which is something you want, right?
Common Questions About Morse Code Bracelets
People often have questions when they start making these unique pieces. Here are a few common ones, you know.
Can I use any word or phrase for my bracelet?
Yes, you certainly can use almost any word or phrase! The only real limit is the length of the message, as longer phrases mean more beads, which can make the bracelet quite long. Shorter words or phrases tend to look best and are easier to manage when beading, so keep that in mind. You can always use an online morse code translator to see how long your chosen message will be in code, which is helpful.
How do I make sure my dots and dashes are clear?
The trick to clear dots and dashes is to use beads that are distinctly different in shape or size. Round beads for dots and tube-shaped or longer beads for dashes work really well. Using different colors for dots and dashes can also help make the code stand out, and it adds a nice design element, too. Consistency in your bead choices is key for readability, obviously.
Where can I find a reliable morse code translator?
There are many free online morse code translators available. A quick search for "online morse code translator" will give you many options. Some of these tools also offer features like playing the sound of the code, or showing you how common words like "SOS" look in morse. Morseconverter.com provides free morse code tools to help you encode and decode morse code, learn morse code patterns, and convert between different formats, so that might be a good place to start, actually.
Your Finished Secret Message Creation
Making a morse code bracelet is a rewarding project that combines creativity with a bit of history. You're not just crafting a piece of jewelry; you're creating a wearable secret, a personal token that holds a special meaning. It's a wonderful way to express yourself or to give a truly thoughtful gift to someone important in your life, you know.
This kind of personalized item really shows care and attention to detail. So, grab your beads, pick your message, and enjoy the process of bringing your secret message to life. It's a fun and easy way to make something truly unique, and you'll have a lovely piece of jewelry to show for it. Learn more about morse code on our site, and you might also like to check out some other DIY jewelry ideas for more inspiration, too.
Detail Author:
- Name : Johanna Nader
- Username : kelli.streich
- Email : lily91@gutmann.com
- Birthdate : 1983-04-17
- Address : 3563 Jeremy Roads Apt. 733 Zboncakstad, CA 28407
- Phone : 1-562-836-9279
- Company : Kutch, Olson and Vandervort
- Job : Rental Clerk
- Bio : Ipsa aspernatur autem eius. Quo adipisci accusamus aperiam molestiae ea sunt asperiores voluptatem. Tempora enim vel eos quibusdam voluptas.
Socials
twitter:
- url : https://twitter.com/doyle_witting
- username : doyle_witting
- bio : Tempore et natus id aut iusto fuga. Laudantium voluptates corporis rerum sapiente alias. Quo porro hic eaque eos laboriosam.
- followers : 5583
- following : 2528
tiktok:
- url : https://tiktok.com/@wittingd
- username : wittingd
- bio : Nisi qui et reiciendis doloribus. Eum voluptatem sunt officia voluptatem ea.
- followers : 6217
- following : 1823
