
Learning about a wire light switch diagram can feel like a big step, but it is very much a skill that brings real satisfaction. Many folks want to handle home projects themselves, and knowing how to connect a light switch is a good place to begin. It's a key part of making your living spaces work just right, and honestly, it helps save some money too. This guide aims to show you the simple steps involved, so you can approach your home's electrical setup with greater confidence.
When you look at a wire light switch diagram, you're basically seeing a map for electricity. It shows where the power comes from, how it travels through the switch, and then on to your light fixture. Getting this right means your lights will turn on and off just as they should, providing the light you need. It's about making sure every connection is secure and works as part of a larger system, much like how Wire, the communication platform, helps teams collaborate without compromise, ensuring every message gets through clearly.
Understanding these diagrams also helps keep things safe around your home. Electrical work, even something as common as a light switch, requires attention to detail. Knowing the proper steps and what each wire does is pretty much essential. We'll walk through the common setups and give you some clear advice, making sure you feel ready to tackle this project yourself, you know, with all the right information.
Table of Contents
- Why a Wire Light Switch Diagram Matters
- Getting Ready for Your Light Switch Project
- The Basics of a Single-Pole Light Switch
- Understanding Three-Way and Four-Way Switches
- Common Wiring Scenarios and Tips
- Troubleshooting Your Light Switch Connections
- Frequently Asked Questions About Light Switch Wiring
- Your Next Steps in Home Electrical Projects
Why a Wire Light Switch Diagram Matters
A wire light switch diagram is like a secret map for your home's electrical system. It shows you exactly where each wire should go, making sure your lights work the way they should. Without a proper diagram, you're pretty much guessing, and that can be a bit dangerous, you know?
For anyone looking to replace an old switch, add a new light, or just understand their home's setup, this diagram is a real friend. It helps prevent mistakes like short circuits or even electrical fires. So, having a clear diagram at hand is incredibly important for both function and safety.
Understanding these diagrams also builds your confidence. When you see how the power flows, it makes sense. It's a bit like how Wire Secure Messenger ensures your team can collaborate in the office or from anywhere, connecting all the pieces for a smooth operation. Knowing your wire light switch diagram helps you connect with confidence.
Getting Ready for Your Light Switch Project
Before you even think about touching a wire, preparation is, like, everything. You want to make sure you have the right items and, more importantly, that you are keeping yourself safe. This step is pretty much non-negotiable for any electrical task you take on.
Having everything ready means you won't have to stop halfway through the job to go searching for a tool. It keeps the process smooth and less frustrating. So, let's get organized first, which is a good habit for any project, really.
Safety First, Always
When working with electricity, safety is, you know, the absolute top priority. Before you do anything else, you must turn off the power at your home's main circuit breaker or fuse box. This step is critical to prevent electric shock or other serious accidents. You can't skip it.
Double-check that the power is off by trying to turn the light on at the switch you're working on. If it doesn't come on, then you're good to go. It's a simple test, but it could save your life, so just do it every time.
Consider wearing rubber-soled shoes and using tools with insulated handles. These small precautions add extra layers of protection. It's about being prepared for any unexpected issues, which is always a good idea when dealing with electricity, actually.
Tools and Materials You'll Need
Having the right tools makes any job easier and safer. For a light switch wiring project, you'll need a few specific items. A voltage tester is pretty much essential for confirming the power is off, you know. It's your safety buddy.
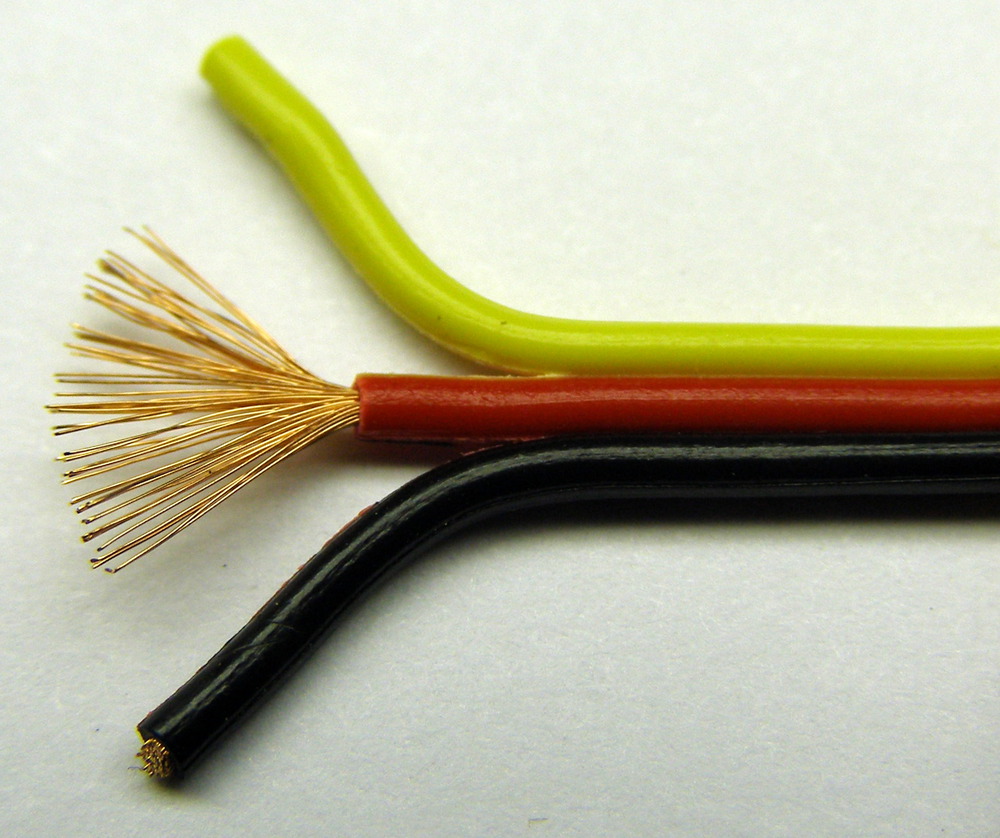
You'll also want a set of screwdrivers, typically Phillips and flathead, for removing switch plates and terminals. Wire strippers are needed to safely remove the insulation from wires without damaging the copper inside. Pliers, like needle-nose or lineman's pliers, can help with bending wires into loops for terminal connections, which is often helpful.
As for materials, you'll need the new light switch itself, of course. Sometimes, you might need wire nuts to join wires together securely. If you're running new lines, you'll need the correct gauge of electrical wire. Remember, we're your single source for residential, commercial, and industrial wire and cable, offering a variety of spool sizes, so choosing the right type, like stranded or solid UL1007 wire, is pretty important for a lasting connection.
The Basics of a Single-Pole Light Switch
The single-pole switch is the most common type you'll find in homes. It controls a light or an outlet from just one spot. Understanding its wire light switch diagram is a great starting point for any electrical work. It's fairly straightforward, so you know, it's a good place to begin.
This switch simply breaks or completes the circuit to the light. When you flip it on, the circuit closes, and electricity flows. When you flip it off, the circuit opens, and the flow stops. It's a basic on-off function, really.
Most single-pole switches have two brass-colored screw terminals and one green or bare copper ground screw. Knowing what each of these does is key to getting your wiring correct, you know, and safely connected.
Identifying the Wires
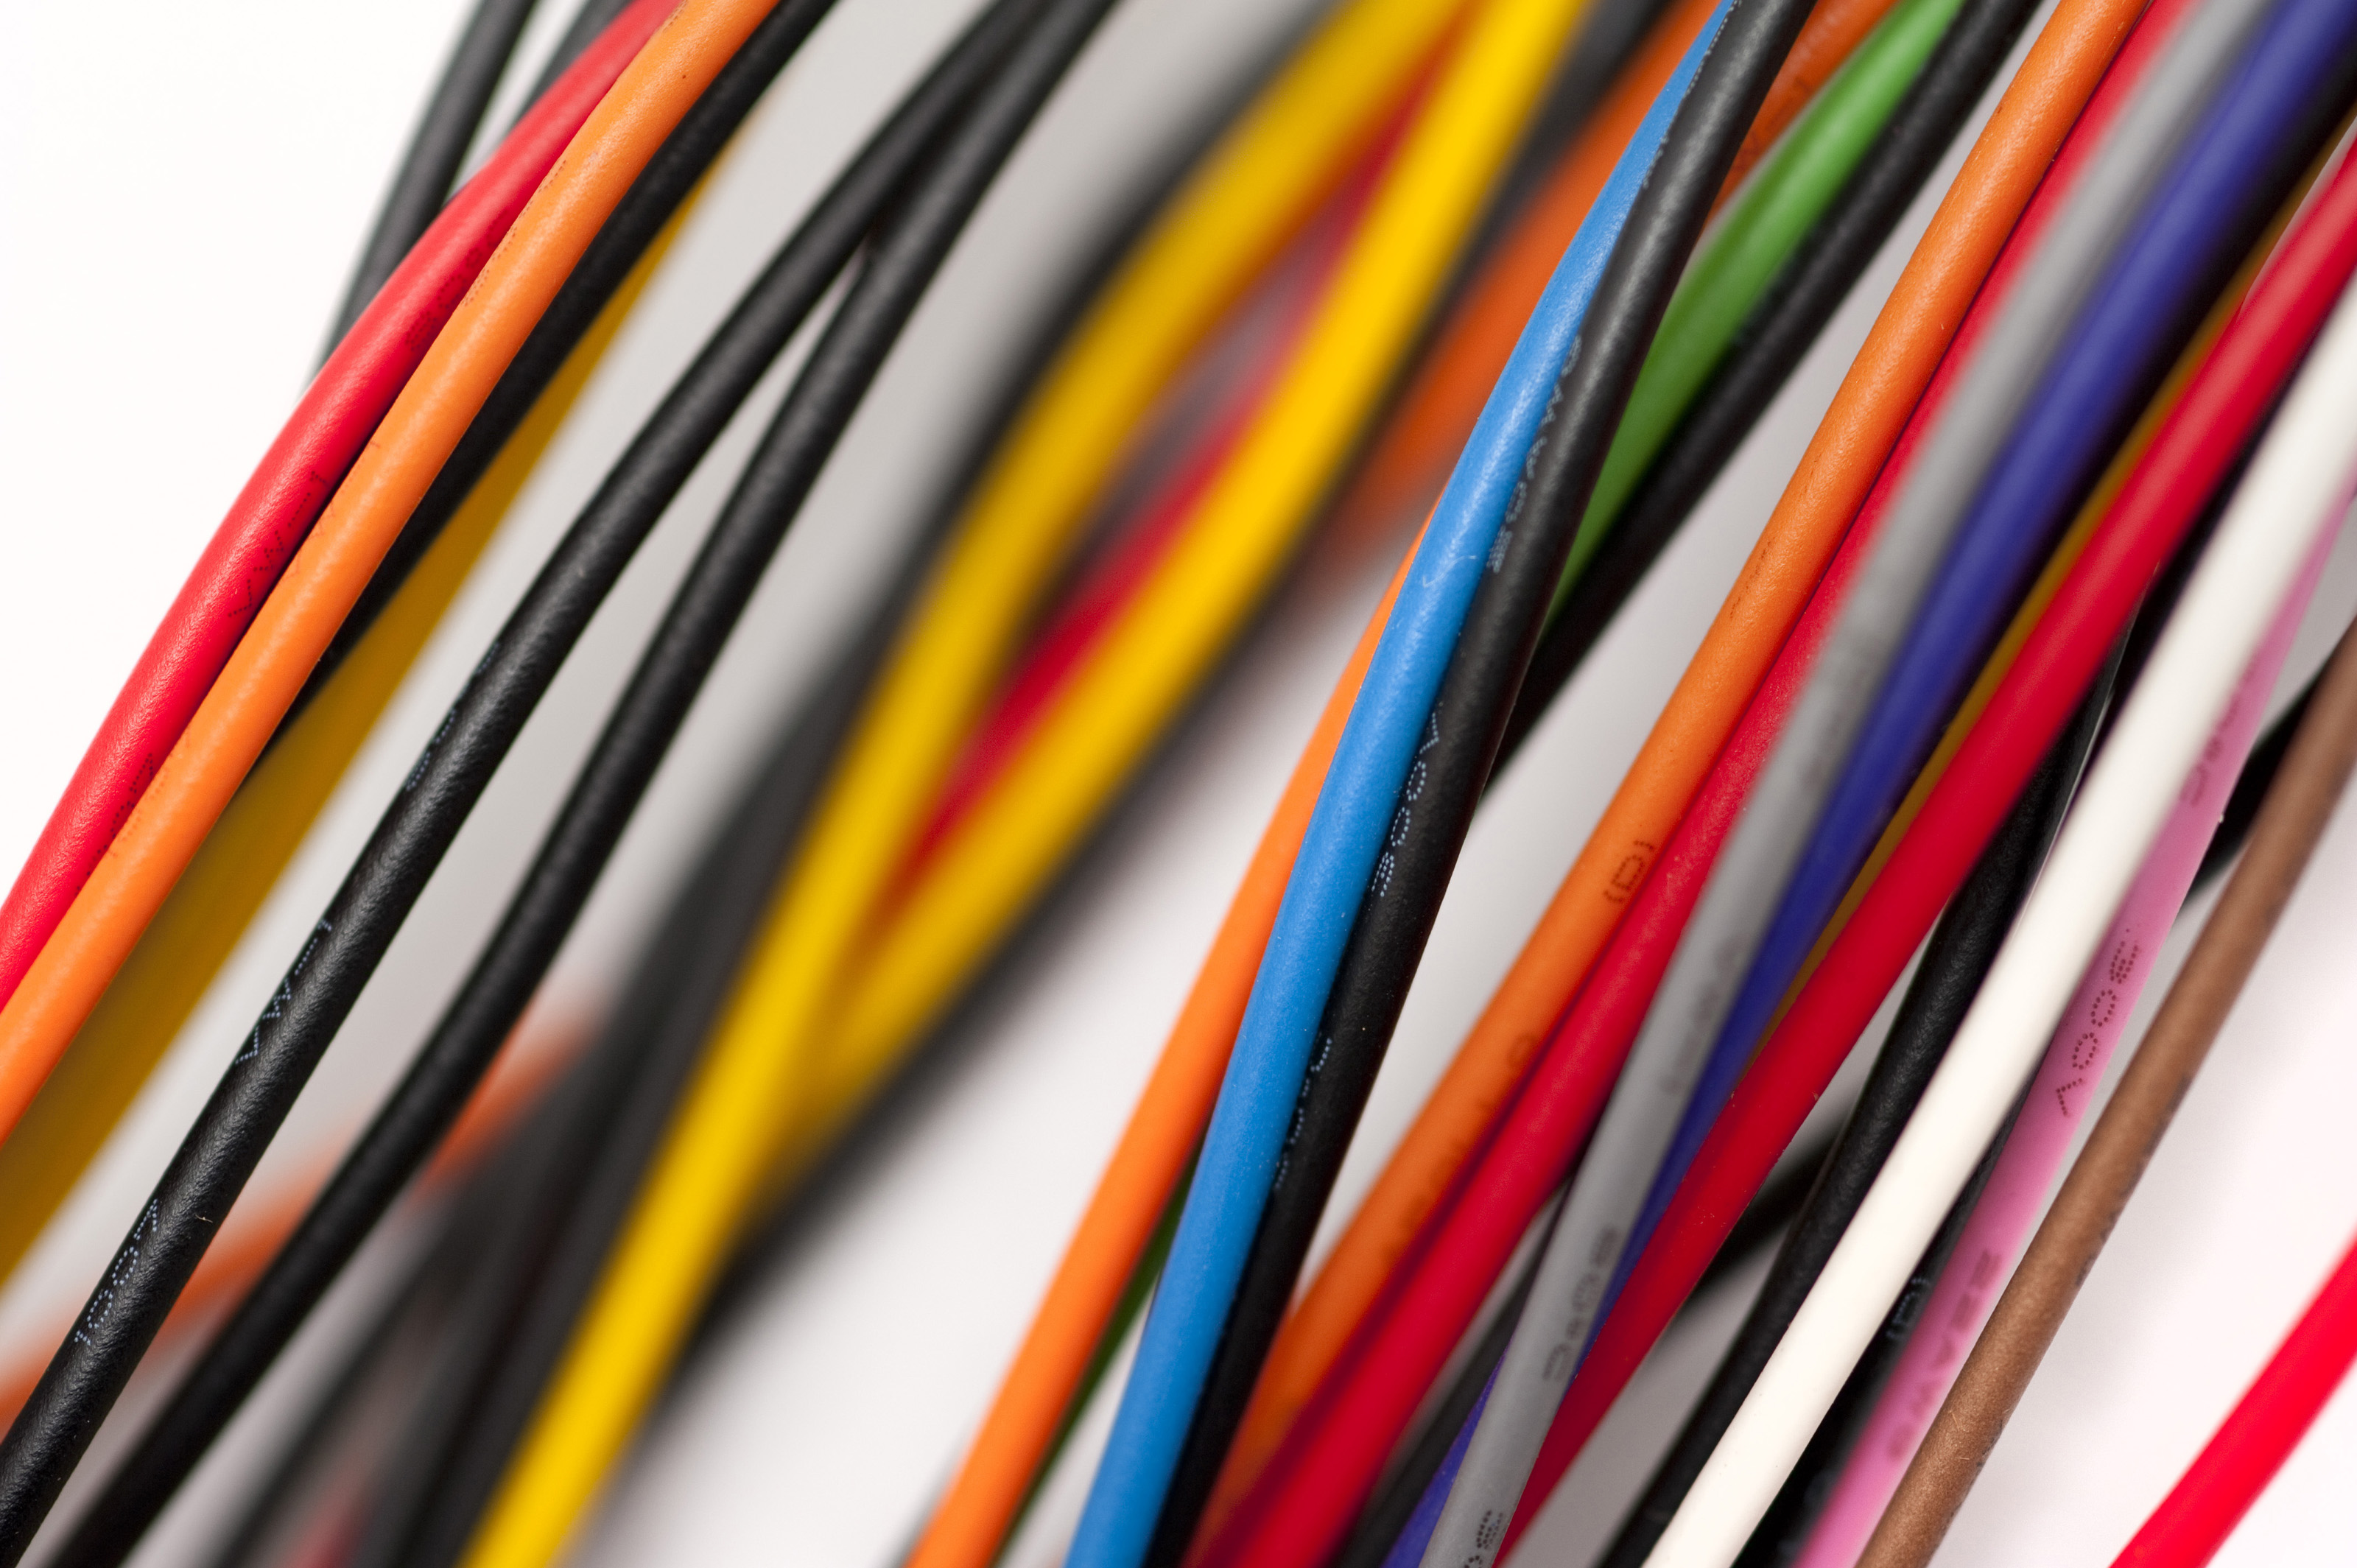
In most home wiring, you'll typically see three types of wires inside your electrical box. There's the hot wire, the neutral wire, and the ground wire. Each has a specific job and color, which makes identification a bit easier.
The hot wire, which is usually black or sometimes red, carries the electricity from the power source. This is the wire that brings the "live" current. It's the one you need to be most careful with, obviously.
The neutral wire, typically white, carries the electricity back to the power source, completing the circuit. It's the return path for the current. While it's not "hot" in the same way, it's still part of the active circuit, so, you know, treat it with respect.
The ground wire is usually bare copper or green. This wire is a safety feature. If there's an electrical fault, it provides a safe path for the electricity to go into the ground, protecting you from shock. It's a very important part of any wire light switch diagram, basically.
Connecting the Wires: Step-by-Step
Once you've identified your wires and confirmed the power is off, you can start making the connections. This process is pretty much the core of understanding any wire light switch diagram. Take your time with each step, that's what's important.
First, connect the bare copper or green ground wire from your electrical box to the green screw terminal on the switch. This connection is super important for safety, as it creates that protective path. Make sure it's snug, you know.
Next, you'll connect the hot wires. One black wire, which is the incoming power, connects to one of the brass screw terminals on the switch. The other black wire, which goes to the light fixture, connects to the other brass screw terminal. It doesn't usually matter which hot wire goes to which brass terminal on a single-pole switch, which is nice.
Finally, if you have neutral wires in the box (which you usually will), they typically bypass the switch and are connected together with a wire nut. The light switch itself doesn't use the neutral wire directly. Make sure all connections are tight and secure. You want them to be reliable, just like a secure communication system that works on any device and operating system, so your team can collaborate without compromise.
Understanding Three-Way and Four-Way Switches
Sometimes, you need to control a light from more than one spot. That's where three-way and four-way switches come into play. Their wire light switch diagram is a bit more involved than a single-pole, but it's still quite manageable once you grasp the basics. It's a common setup in hallways or large rooms, you know.
Three-way switches always come in pairs. You can't have just one. They work together to control a single light or group of lights. Four-way switches are used in the middle of a circuit, allowing control from three or more locations. They add another point of control, basically.
These switches use what are called "traveler" wires to communicate with each other. Understanding how these travelers work is the key to mastering these more complex diagrams. It's pretty cool how they coordinate, actually.
Three-Way Switch Diagram Explained
A three-way switch typically has three screw terminals plus a ground screw. One terminal, often a different color (like black or darker brass), is the "common" terminal. This is where the incoming hot wire or the wire going to the light fixture connects. The other two terminals are for the "traveler" wires.
The traveler wires (usually black or red, but can be other colors depending on the cable) run between the two three-way switches. They carry the power back and forth, allowing either switch to complete or break the circuit. It's a bit like a seesaw, you know, either side can tip it.
In a typical three-way setup, one switch gets the hot wire from the power source on its common terminal. The other three-way switch has the wire going to the light fixture connected to its common terminal. The two traveler wires connect between the remaining terminals on both switches. This arrangement is what allows for control from two different spots, pretty much.
Four-Way Switch Diagram Explained
A four-way switch is used when you need to control a light from three or more locations. It always goes in between two three-way switches. So, the setup would be: three-way switch, then one or more four-way switches, then another three-way switch. It adds another layer of control, really.
A four-way switch has four screw terminals plus a ground screw. Two of these terminals are for incoming traveler wires from the first three-way switch, and the other two are for outgoing traveler wires that go to the next switch in the circuit (either another four-way or the final three-way). It basically swaps the connections of the traveler wires.
When you flip a four-way switch, it reverses the polarity of the traveler wires, which in turn changes the state of the circuit. This allows any of the switches in the system to turn the light on or off, no matter what the others are doing. It's a clever bit of engineering, that.
Common Wiring Scenarios and Tips
Beyond the basic switch types, there are a few common wiring situations you might encounter. Knowing about these can help you interpret your wire light switch diagram more accurately and plan your work better. These scenarios pop up pretty often, so it's good to be aware.
Sometimes the power comes into the light fixture box first, and other times it comes into the switch box. The diagram will look a little different depending on which setup you have. So, identifying your starting point is pretty important.
Always double-check your work before restoring power. A quick visual inspection can catch small errors. And remember, choosing from our selection of wire and cable, including high-temperature wire for extreme environments, ensures your connections are durable and safe, much like how Wire Swiss creates an app built for secure collaboration across various platforms.
Switch Loop Wiring
A common scenario, especially in older homes, is when the power goes to the light fixture first, and then a single cable runs down to the switch box. This is called a "switch loop." It's a bit different from when power comes directly into the switch box, so, you know, pay attention.
In a switch loop, the white wire in the cable running to the switch is often used as a hot wire, carrying power down to the switch. This white wire should be marked with black electrical tape or a black marker on both ends to indicate it's being used as a hot wire, not a neutral. This is a very important safety marking, basically.
The black wire in the switch loop cable then carries the switched power back up to the light fixture. The switch itself only interrupts the hot wire. There's no neutral wire at the switch box in this setup. Understanding this specific wire light switch diagram is pretty crucial for older homes, actually.
Adding a New Light or Outlet
If you're planning to add a new light fixture or an outlet controlled by a switch, your wire light switch diagram will get a little more involved. You'll need to consider how to extend the circuit safely and effectively. It's a common home improvement project, that.
You might need to run new wire from an existing junction box or directly from the circuit breaker panel. This often involves calculating the load on the circuit to make sure you don't overload it. Overloading a circuit can be dangerous, so, you know, be careful there.
Always ensure that the new wiring is properly secured and protected within walls or conduits. Following local electrical codes is also super important. These codes are there for your safety and to ensure the longevity of your electrical system, which is a big deal, really.
Troubleshooting Your Light Switch Connections
Even with a clear wire light switch diagram, sometimes things don't work perfectly the first time. Don't worry, troubleshooting is a normal part of any DIY project. Most issues are pretty simple to fix once you know what to look for, actually.
If your light isn't turning on, first, check that the power is indeed on at the breaker. Then, re-check all your connections at the switch and the light fixture. A loose wire is a very common culprit, you know. Make sure all wire nuts are tight and screws are snug.
If the light stays on all the time, you might have accidentally connected the hot wire directly to the light fixture's hot wire, bypassing the switch. This means the switch isn't interrupting the power. Re-check your wire light switch diagram against your actual connections. It's usually a simple mix-up, that.
For intermittent issues, check for frayed wires or damaged insulation. Sometimes, older wires can become brittle. If you're unsure, it's always best to call a qualified electrician. Safety always comes first, so, you know, don't take chances with electricity.
Frequently Asked Questions About Light Switch Wiring
People often have similar questions when they're looking at a wire light switch diagram. Here are some common ones that might help you out.
Can I replace a regular light switch with a dimmer switch?
Yes, you can usually replace a standard light switch with a dimmer switch, provided the dimmer is compatible with your light fixture's bulbs. The wiring for a single-pole dimmer is pretty much the same as a regular single-pole switch, just connect the hot wires to the dimmer's terminals. Always check the dimmer's specific instructions, though, as some have different requirements, you know.
What does it mean if my light switch feels warm?
A light switch feeling warm can be a sign of a problem. It might mean the switch is overloaded, has loose connections, or is simply faulty. Loose connections can create resistance, which generates heat. It's pretty important to investigate this quickly, as it could be a fire hazard. Turn off the power and check the connections, or have an electrician look at it, basically.
Do I need to use a junction box for a light switch?
Yes, absolutely. All electrical connections, including those for a light switch, must be enclosed in an approved electrical box, often called a junction box. This box protects the wiring and prevents accidental contact with live wires. It's a code requirement and a very important safety measure, so, you know, don't skip it.
Your Next Steps in Home Electrical Projects
By now, you should have a much clearer picture of what a wire light switch diagram means and how to approach wiring a light switch safely. This knowledge is a fantastic step toward feeling more capable around your home. It's pretty empowering, actually, to understand how these things work.
Remember, taking your time and prioritizing safety are the most important things. Always double-check your work and never hesitate to consult a professional if you feel uncertain. You can learn more about electrical safety on our site for additional tips and guides.
For more detailed information on different wire types and their applications, you can explore resources like the National Electrical Code (NEC), which is pretty much the standard for electrical installations. And to keep learning about various home improvement topics, you can also check out our dedicated home improvement section. Keep learning and keep your home safe!

Detail Author:
- Name : Johanna Nader
- Username : kelli.streich
- Email : lily91@gutmann.com
- Birthdate : 1983-04-17
- Address : 3563 Jeremy Roads Apt. 733 Zboncakstad, CA 28407
- Phone : 1-562-836-9279
- Company : Kutch, Olson and Vandervort
- Job : Rental Clerk
- Bio : Ipsa aspernatur autem eius. Quo adipisci accusamus aperiam molestiae ea sunt asperiores voluptatem. Tempora enim vel eos quibusdam voluptas.
Socials
twitter:
- url : https://twitter.com/doyle_witting
- username : doyle_witting
- bio : Tempore et natus id aut iusto fuga. Laudantium voluptates corporis rerum sapiente alias. Quo porro hic eaque eos laboriosam.
- followers : 5583
- following : 2528
tiktok:
- url : https://tiktok.com/@wittingd
- username : wittingd
- bio : Nisi qui et reiciendis doloribus. Eum voluptatem sunt officia voluptatem ea.
- followers : 6217
- following : 1823
