
Have you ever looked at something as common as an empty plastic bottle and wondered how you might capture its unique look on paper? It's a rather interesting challenge, honestly. These everyday items, which are just about everywhere we look, offer a surprising amount of artistic potential for anyone keen on drawing. They can be a fantastic way to practice seeing light, reflections, and subtle shapes.
Plastic, you know, is a truly versatile material. It's made from polymers, which are these complex organic compounds. The really cool thing about plastic is its plasticity; it can be molded or shaped into all sorts of forms, usually with a bit of heat and pressure. This property means bottles come in a dizzying array of forms, from the sturdy polyethylene in milk jugs to the clear stuff in water bottles. They are lightweight, yet durable, and that's why they are so common.
Drawing a plastic bottle might seem simple at first glance, but it actually involves quite a bit of observation. You get to explore how light bends through clear surfaces, how reflections bounce off curves, and how a simple object can hold so much visual interest. It's a great way to sharpen your artistic skills, and perhaps, even think a little about the items we use daily. So, let's get into how you can bring these familiar shapes to life on your page.
Table of Contents
- Why Draw Plastic Bottles?
- Understanding Plastic: A Quick Look
- Getting Started: Materials You'll Need
- The Basics of Plastic Bottle Drawing
- Step-by-Step Drawing Guide
- Tips for Success
- Common Challenges and How to Handle Them
- Creative Ideas for Your Plastic Bottle Art
- Frequently Asked Questions
- Start Your Plastic Bottle Drawing Today
Why Draw Plastic Bottles?
You might wonder, why pick a plastic bottle when there are so many other things to draw? Well, there are actually a few really good reasons. For one, plastic bottles are just about everywhere, making them super easy to find as subjects. You don't need anything special to get started, you know.
Drawing these common items can also help you become a better artist. They are excellent for practicing how to show clear objects, how light moves through things, and how reflections look on curved surfaces. It's a bit like a master class in seeing, in some respects.
Beyond the technical skills, drawing a plastic bottle can also connect to bigger ideas. People are often thinking about sustainability these days. Creating art from something like a plastic bottle, or even just drawing one, can be a small way to engage with these conversations. It makes you look at something often just thrown away in a new light, which is pretty cool.
Understanding Plastic: A Quick Look
Before you even put pencil to paper, it helps to know a little about what plastic actually is. Our text tells us that plastics are a wide range of synthetic or semisynthetic materials. They are mostly made up of polymers, which are these very large molecules. This structure gives plastic its defining characteristic: plasticity.
This means plastic can be molded, extruded, or pressed into various shapes. It’s why you see plastic in so many forms, from packaging to clothes to beauty products. Plastic products are generally versatile, durable, and lightweight, which is really why they are so common in industries like construction, transportation, and packaging.
Think about the polyethylene in milk jugs or the polyvinyl chloride in credit cards. These are all different kinds of plastic. Understanding that plastic is strong, yet malleable, and can be clear or opaque, helps you draw it better. It influences how light behaves on its surface, and that's something you will want to consider.
Getting Started: Materials You'll Need
You don't need a lot of fancy supplies to start your plastic bottle drawing. A few basic items will do the trick, honestly. You probably have most of these around your home already, which is great.
First, you will want some drawing paper. Any kind will work for practice, but a slightly thicker paper might handle erasing better. Then, you'll need pencils. A set with different hardness levels, like a 2H for light sketches and a 2B or 4B for darker shading, is very useful. A good eraser is also a must, especially for those transparent effects.
You might also want a blending stump or a cotton swab for smoothing out your shading. And, of course, you'll need a plastic bottle! Try different shapes and sizes. An empty, clear water bottle is a good starting point, as it lets you really focus on light and reflections. So, gather your things, and let's get ready.
The Basics of Plastic Bottle Drawing
Drawing a plastic bottle is more than just outlining its shape. It's about capturing how it looks and feels. There are a few key elements to think about that will make your drawing really pop. These elements are what give the bottle its lifelike appearance, you know.
Shape and Form
Every plastic bottle has a unique shape. Some are tall and thin, others are wide and squat. Start by looking at the overall silhouette. Use light lines to sketch the basic outline. Think about the bottle's symmetry, too; most bottles are pretty even on both sides, which is something you can use to your advantage.
Then, consider its form. A bottle isn't flat; it's a three-dimensional object. Imagine it as a series of cylinders or cones. This helps you understand how light will wrap around its curves. You'll want to think about the neck, the body, and the base as separate, yet connected, parts.
Don't forget the cap! It's a small detail, but it adds to the bottle's overall shape. Getting these basic forms right is the foundation for a believable drawing. It's like building a house; you need a solid base, right?
Transparency and Reflection
This is where drawing plastic bottles gets really interesting. Many plastic bottles are clear, or at least see-through. This means you can see through them to whatever is behind. To show transparency, you'll need to draw faint lines or shapes that appear through the bottle itself. It's a bit like drawing two layers at once, you know.
Reflections are also super important. Plastic surfaces, especially smooth ones, reflect light from their surroundings. Look for bright highlights where light hits the bottle directly. These are often sharp and very bright. You'll also see distorted reflections of things in the room, which can be quite challenging but also very rewarding to draw. These reflections really give the bottle its plastic look.
Sometimes, you'll even see reflections of the bottle itself on its own surface. This happens especially with curved parts. Capturing these subtle reflections and the way light bounces around is key to making your drawing look real. It takes a bit of practice, but it's very achievable.
Light and Shadow
Light and shadow are what give any drawing depth. For a plastic bottle, this is especially true. Observe where the light source is coming from. This will tell you where the brightest parts (highlights) and the darkest parts (shadows) will be. A clear bottle will have very distinct highlights and shadows, you know.
Shadows on a clear bottle aren't always dark and solid. They can be subtle and transparent themselves, showing hints of what's behind them. You'll also see cast shadows on the surface the bottle is sitting on. These shadows help ground the bottle in its environment, making it feel like it's really there.
Look for gradients in the shading, too. Light doesn't just stop; it often fades gradually. Using different pencil pressures will help you create these smooth transitions. This attention to light and shadow truly brings the bottle to life on your paper, giving it that three-dimensional feel.
Texture and Details
Even smooth plastic has a subtle texture. It's not perfectly flat like glass, for instance. Look for slight imperfections, tiny scratches, or manufacturing lines. These small details can add a lot of realism to your drawing. They make the bottle feel more like a real object, you know.
Consider any labels or embossed patterns on the bottle. These can be tricky to draw, especially if they are curved. You'll need to show how they wrap around the bottle's form. Sometimes, just a hint of a label is enough to suggest its presence without drawing every single letter.
The cap often has its own texture, like ridges for gripping. Don't forget these smaller elements. They add character and help define the bottle's material. Paying attention to these tiny bits makes a big difference in the final look of your plastic bottle drawing.
Step-by-Step Drawing Guide
Ready to start drawing? Here’s a simple way to approach your plastic bottle drawing, step by step. You can adjust these steps as you go, you know. It's all about finding what works best for you.
Step 1: Light Sketch of the Basic Shape. Begin with very light lines to sketch the overall outline of your bottle. Don't press hard. Focus on getting the height, width, and general proportions right. It's basically like drawing a stick figure for your bottle, really.
Step 2: Define the Form. Once you have the basic outline, start to refine the curves and angles. Think about the neck, the shoulders, the body, and the base. Add the cap at this stage too. Make sure both sides of the bottle look balanced, as most bottles are symmetrical.
Step 3: Add Major Highlights and Shadows. Look at your bottle and identify where the brightest spots are and where the darkest shadows fall. Lightly sketch these areas. For clear bottles, you'll see bright reflections and subtle internal shadows. This helps to establish the light source, you know.
Step 4: Build Up Shading. Start applying light layers of shading to build up the darker areas. Use a lighter pencil first, then gradually move to darker ones. Remember that shadows on clear plastic might not be solid; they often have a translucent quality. Use your blending tool to smooth out transitions if you want to.
Step 5: Focus on Transparency and Reflections. This is crucial for a plastic bottle drawing. Draw any objects or patterns you can see through the bottle, making them slightly distorted. Add the sharp, bright highlights that show the plastic's reflective nature. These can be very bright lines or small, intense shapes. This is where the magic happens, so to speak.
Step 6: Add Details and Refine. Now, go in and add the smaller details. This includes any labels, ridges on the cap, or subtle textures on the plastic. Use your eraser to lift out very bright highlights or to clean up edges. Make any final adjustments to your shading to make the bottle look more realistic. You're nearly there, you know.
Step 7: Draw the Cast Shadow. Finally, add the shadow that the bottle casts on the surface it's sitting on. This helps to ground the bottle and make it feel like it's really there in space. The cast shadow should reflect the shape of the bottle and be darkest closest to the bottle. It's a small touch, but it makes a big difference, honestly.
Tips for Success
Drawing plastic bottles can be a fun experience, and a few pointers can make it even better. These tips are pretty simple, but they can really help you out. You'll find your own rhythm, too, which is great.
Set Up Your Lighting: Place your bottle near a single light source, like a window or a lamp. This creates clear highlights and shadows, making it easier to see the forms. Too many light sources can make it confusing, you know.
Observe Closely: Don't just draw what you *think* a bottle looks like. Really look at it. Notice the subtle shifts in light, the way reflections warp, and the small details. Your eyes are your best tool, basically.
Use a Grid (Optional): If you're struggling with proportions, lightly draw a grid over your reference photo and a corresponding grid on your paper. This can help you place elements accurately. It's a helpful trick for getting things just right.
Practice Transparency: This is often the trickiest part. Practice drawing clear objects separately. Try drawing a glass or a clear cube first to get a feel for how light and reflections behave. It takes a bit of getting used to, you know.
Don't Be Afraid to Erase: Mistakes are part of the process. Use your eraser not just for fixing errors, but also for creating highlights by lifting graphite off the paper. It's a tool for drawing, too.
Take Breaks: Step away from your drawing for a few minutes and then come back to it with fresh eyes. You'll often spot things you missed before. It's amazing what a little distance can do, you know.
Experiment with Different Plastics: Try drawing an opaque plastic bottle, like a milk jug. The way light hits it will be different from a clear bottle, offering a new challenge. The polyethylene in milk jugs, for instance, reflects light differently, which is pretty interesting.
Common Challenges and How to Handle Them
It's totally normal to face a few hurdles when you're drawing something like a plastic bottle. Don't get discouraged if it doesn't look perfect right away. These challenges are actually opportunities to learn and grow. You'll get better with practice, you know.
One common challenge is getting the transparency to look right. Sometimes, it can end up looking cloudy or just flat. To fix this, really focus on those sharp highlights and the faint lines you see through the bottle. Also, make sure your darkest shadows are truly dark, creating a strong contrast. This contrast helps the clear parts stand out, which is pretty important.
Another tricky bit is capturing reflections accurately. They can be distorted and confusing. Try to simplify what you see. Don't try to draw every tiny detail in the reflection. Instead, focus on the overall shape and brightness of the reflected areas. It's often about suggesting the reflection rather than drawing it perfectly, you know.
Maintaining symmetry can also be a challenge, especially with curved bottles. If your bottle looks lopsided, try flipping your drawing upside down or looking at it in a mirror. This can help you spot imbalances more easily. You can also use a ruler or a straight edge to check your vertical alignment. It's a quick way to see if things are off, really.
Finally, sometimes the drawing might just look a bit "flat." This usually means you need more variation in your shading. Push your darks darker and make your lights brighter. This increases the sense of depth and form. Remember that plastic is strong yet malleable, and its surfaces can show a lot of subtle shifts in light. So, keep practicing those values.
Creative Ideas for Your Plastic Bottle Art
Once you feel comfortable with the basics of plastic bottle drawing, you can start to get really creative. There are so many ways to make your bottle art unique and interesting. You're not just limited to drawing a single, empty bottle, you know.
Try drawing multiple plastic bottles together. Arrange them in a still life composition. You can have them overlapping, or create a sense of depth by placing some closer and some further away. This adds a new layer of complexity and helps you practice composition. It's a great way to challenge yourself, basically.
Consider adding other objects to your drawing. Maybe put some flowers in the bottle, or place it next to other items like fruit or books. This creates a story within your drawing and gives you more textures and shapes to work with. It makes the scene feel more alive, you know.
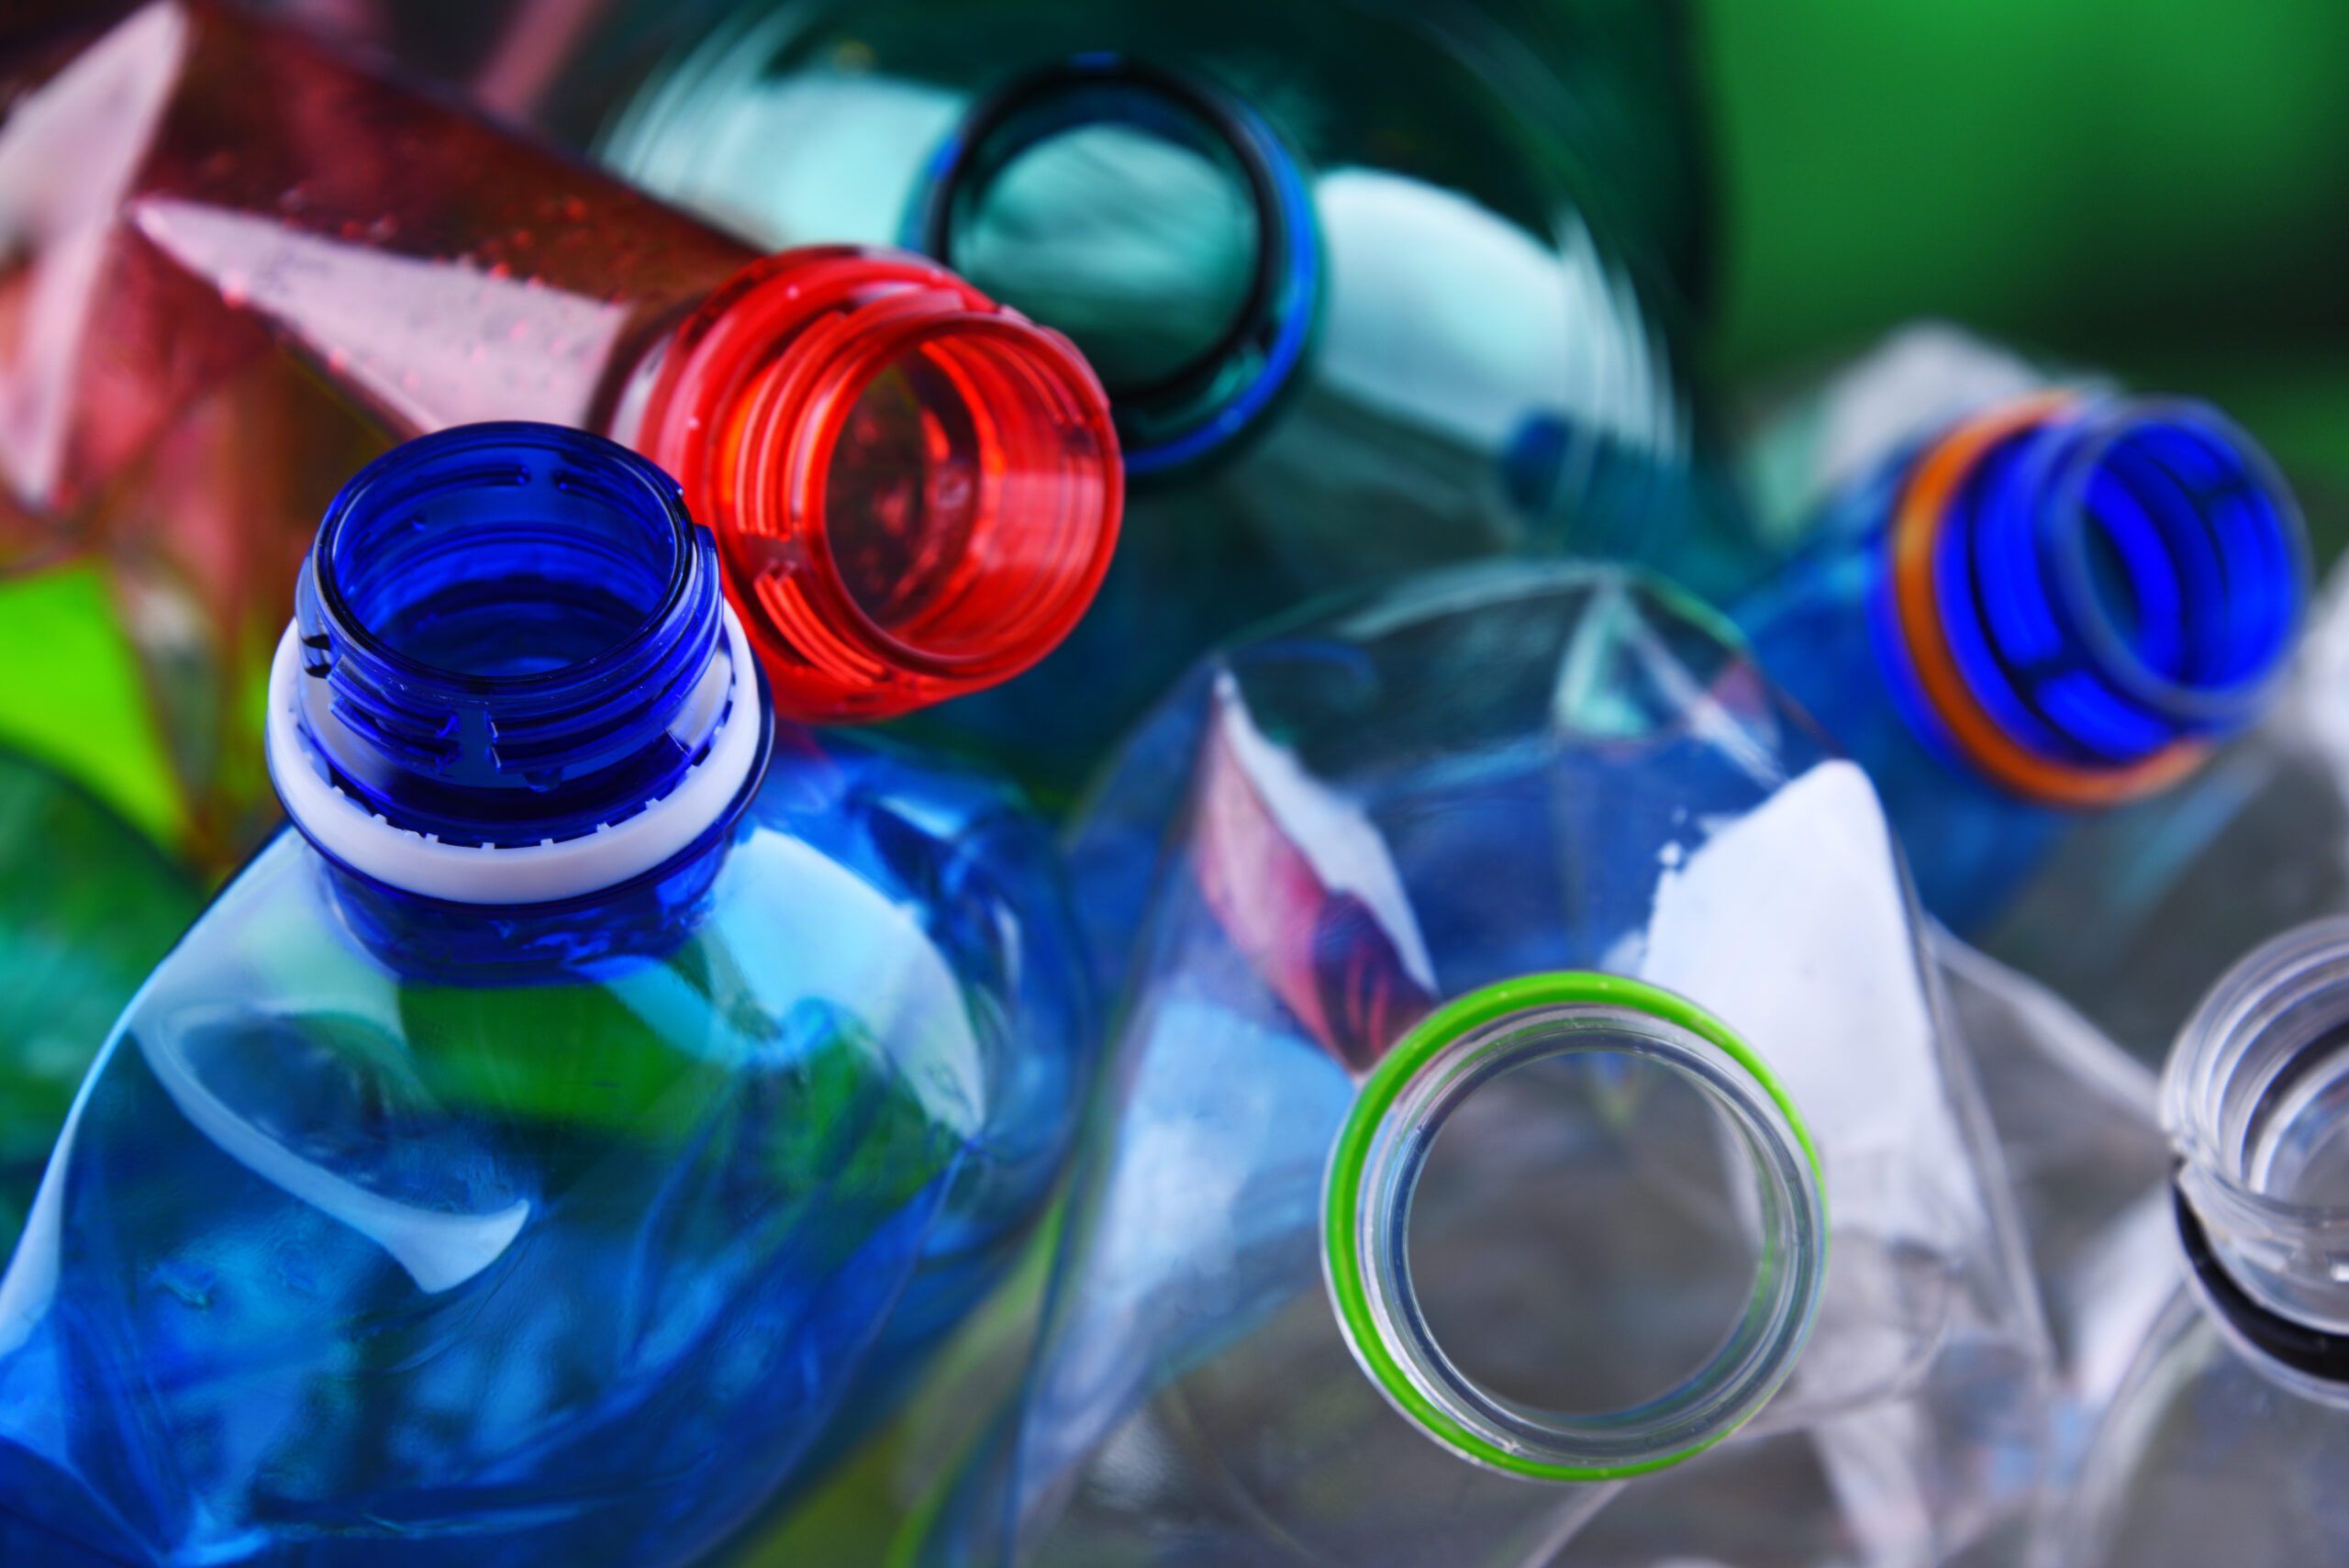
You could also experiment with different types of plastic bottles. As our text mentions, plastic comes in a dizzying array of forms. Try a colored plastic bottle, an opaque one like a milk jug, or even a crinkled, discarded bottle to explore texture and form in a different way. Each type will present its own unique drawing challenges and rewards. It's really about exploring the material in all its forms.
Think about the background, too. A simple, plain background can help the bottle stand out, but a more detailed background can add context and atmosphere. You could even draw a bottle that has been recycled or repurposed, linking your art to themes of sustainability. This gives your plastic bottle drawing an extra layer of meaning, which is pretty cool.
Frequently Asked Questions
How do you draw a clear plastic bottle?
Drawing a clear plastic bottle focuses on showing light and reflections. You'll want to pay close attention to the bright highlights where light hits the surface directly. Also, draw subtle, distorted reflections of objects behind or around the bottle. The edges of the bottle will often appear as thin, bright lines, which is pretty important for showing its shape. Remember to also include faint lines or shapes that you can see through the bottle itself, as this helps convey its transparency.
What are the challenges of drawing plastic?
One of the main challenges is capturing its transparency and reflectivity. Plastic surfaces can be very shiny, showing a lot of distorted reflections. It can be tricky to make the plastic look like plastic and not glass or another material. Also, plastic often has subtle textures, like seams or slight imperfections, which can be hard to render without overdoing them. The way light behaves on its flexible, yet durable, surface is quite unique, so that's something to really observe.
Can you draw a plastic bottle with pencils?
Absolutely, you can draw a plastic bottle beautifully with just pencils! Pencils are great for capturing the subtle values and contrasts needed to show transparency and reflections. You can use different hardnesses of pencils – lighter ones for initial sketches and soft shading, and darker ones for strong shadows and sharp highlights. A good eraser is also essential for lifting out bright areas and refining details. It's a very effective medium for this kind of subject, honestly.
Start Your Plastic Bottle Drawing Today
Taking on a plastic bottle drawing can be a really rewarding experience for any artist. It pushes you to observe closely and to think about how light interacts with different materials. Remember, plastic is a versatile material, capable of being molded into many forms, and that very quality makes it a fascinating subject for your art. You can learn more about art techniques on our site, and even link to this page for more drawing inspiration.
So, grab a bottle, pick up your pencils, and give it a try. Don't worry about making it perfect right away. The goal is to enjoy the process and to learn something new with each stroke. You might be surprised at what you can create, you know. Happy drawing!


Detail Author:
- Name : Odessa Gutkowski
- Username : smith.stephon
- Email : jacobson.earnestine@conroy.com
- Birthdate : 1991-12-03
- Address : 575 Konopelski Roads New Clementinaport, DC 74027-2659
- Phone : 972.868.2127
- Company : Dach-Macejkovic
- Job : Cement Mason and Concrete Finisher
- Bio : Eius corporis illum in. Ea eius necessitatibus architecto consequuntur sed enim est aliquid. Et quod eaque laudantium eius molestiae ipsam.
Socials
twitter:
- url : https://twitter.com/djacobi
- username : djacobi
- bio : Deserunt dignissimos soluta est ex velit placeat. Eos molestias voluptas laboriosam eaque.
- followers : 5494
- following : 917
tiktok:
- url : https://tiktok.com/@jacobid
- username : jacobid
- bio : Enim consequatur temporibus perspiciatis assumenda.
- followers : 4242
- following : 2800
linkedin:
- url : https://linkedin.com/in/daron.jacobi
- username : daron.jacobi
- bio : Adipisci impedit facere harum optio.
- followers : 5128
- following : 743
instagram:
- url : https://instagram.com/jacobi1972
- username : jacobi1972
- bio : Et aut accusamus aut. Delectus ipsum voluptatum voluptatem ratione aperiam non.
- followers : 401
- following : 1615
facebook:
- url : https://facebook.com/daron.jacobi
- username : daron.jacobi
- bio : Accusamus dolor id aspernatur voluptatem ea omnis quos.
- followers : 180
- following : 2199
